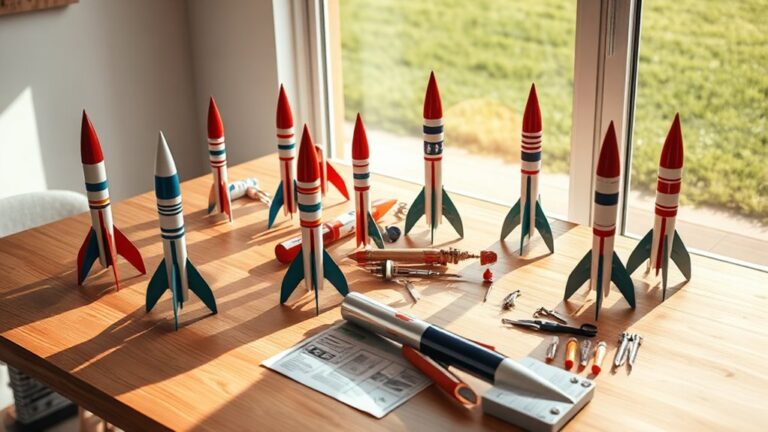
Build a Homemade Model Rocket – A Step-by-Step Guide
To build a homemade model rocket, you’ll want to start by choosing a suitable engine, like a C engine, which is ideal for controlled flights.
Next, gather your materials. You’ll need light-colored paper for the fuselage, non-corrugated cardboard for the fins, and a medium-sized rubber band to create the recovery system.
Now, roll the paper into a tube and make sure to secure it well.
It’s important to construct identical fins for stability, as they help keep your rocket on a straight path during flight.
Don’t forget about the recovery system! A parachute is essential for a reliable descent after your rocket reaches its peak.
For detailed guidance on each step, keep exploring the process!
Key Takeaways
- Choose a C engine for controlled flight, ensuring it produces around 6 Newtons of impulse for moderate heights.
- Construct the fuselage by rolling light-colored paper into a sturdy tube and secure it with tape for reinforcement.
- Cut four identical fins from non-corrugated cardboard, ensuring smooth edges and proper alignment to enhance stability during flight.
- Attach a recovery system using a medium-sized rubber band and a shock cord to ensure safe descent with a parachute or streamer.
- Use appropriate materials and glues for each component, like wood glue for balsa fins, to ensure strong and reliable construction.
Knowing the Engine
When building a model rocket, knowing the engine is essential for a successful launch.
Rocket engines are classified by letters, and choosing the right one can make all the difference.
C engines, for instance, are perfect for moderate heights, producing around 6 Newtons of impulse.
The number after the dash indicates the delay burn time; a C6-7 engine has a 7-second delay before the recovery system deploys.
Understanding these specifications is vital, as they determine your rocket’s thrust and flight capabilities.
Lower classifications, like C, offer less flight potential compared to higher ones like D.
With C engines producing between 5 to 10 Newtons, you can achieve controlled and predictable flight patterns, ensuring an enjoyable launch experience.
Materials
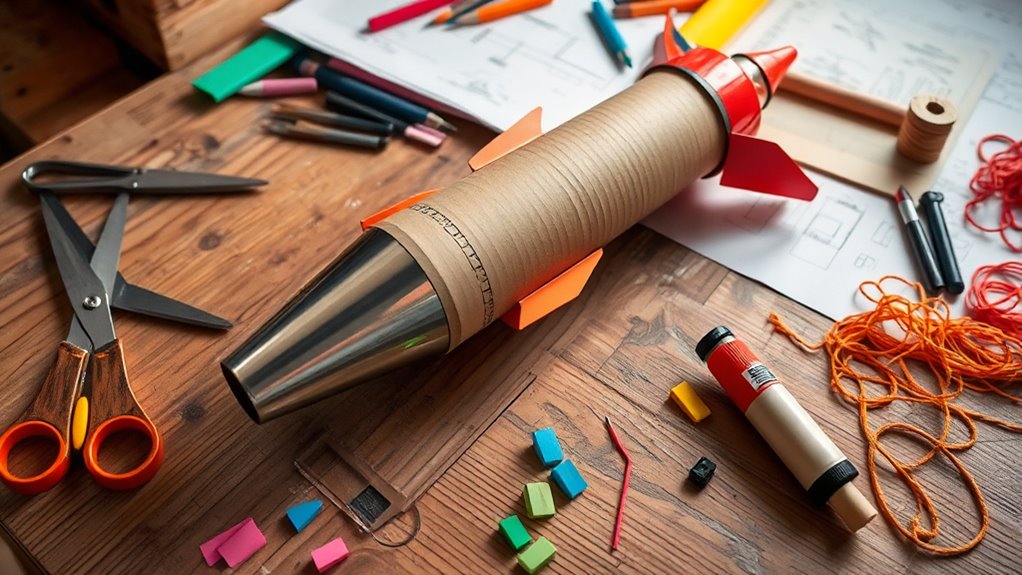
Crafting a homemade model rocket requires specific materials to guarantee a successful build and flight.
You’ll need 1-2 sheets of light-colored paper for the fuselage, rolled into a tube about 1 inch in diameter. A medium-sized rubber band is essential for attaching the recovery system, ensuring it deploys safely during descent.
For the fins, use non-corrugated cardboard from a cereal box, cutting four identical pieces for stability.
Don’t forget a paper clip to create an engine resistor, preventing the rocket engine from exiting the nose cone during launch.
Finally, gather tape—either packing or scotch—to secure the fuselage and fins. Oh, and make or purchase a nose cone for best aerodynamic efficiency.
Building Fuselage
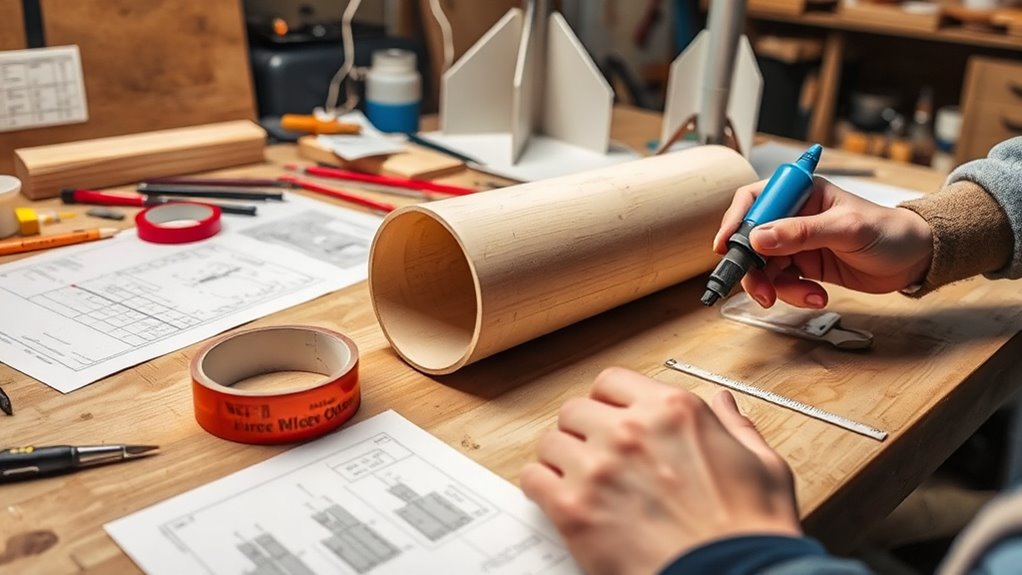
To build the fuselage, you’ll roll a brightly colored piece of paper into a tube about 1 inch in diameter and secure it with tape. For extra strength, wrap a second piece of paper around the first before securing it, making sure it can house the rocket engine. This structure is essential for your rocket’s stability and performance during flight, so take your time to get it right.
Tube Construction Techniques
Building the fuselage of your homemade model rocket requires precision and creativity.
Start by rolling a brightly colored paper into a tube about 1 inch in diameter. Secure it with tape to hold the shape.
For added sturdiness, wrap a second piece of paper around the first tube and tape it down. This extra layer will enhance the fuselage’s durability.
If you need more strength, consider using non-corrugated cardboard, like from a cereal box, to reinforce the structure.
Make certain the fuselage aligns properly with the engine mount specifications, as it will serve as the engine housing.
Complete this construction step before attaching fins and other components to guarantee a solid foundation for your rocket.
Securing Engine Housing
After verifying your fuselage is securely constructed, it’s time to focus on the engine housing.
You’ll want to create a sturdy tube that can withstand the forces during flight. Follow these steps to secure the engine housing:
- Roll a brightly colored paper into a tube with a diameter of about 1 inch.
- Use tape to secure the rolled tube, maintaining its shape and structural integrity.
- For added sturdiness, wrap a second piece of paper around the first tube.
- Confirm the engine housing fits snugly within the fuselage, preventing any movement during launch.
Completing this part of your rocket will give you a solid foundation before adding fins and other components for a well-balanced design.
Fins
When it comes to fins, choosing the right materials like balsa wood or plastic is key for stability. You’ll want to guarantee they’re well-aligned and securely attached to prevent any erratic flight. A little attention to detail here can make all the difference in your rocket’s performance.
Fin Materials and Types
While selecting the right materials for your rocket fins, you’ll find that their stability and control play an essential role in the overall flight performance.
Choosing the right fins is vital, so consider the following materials:
- Balsa wood: Lightweight and easy to work with, making it perfect for beginners.
- Plywood: Slightly heavier, offering increased durability for more advanced builds.
- Plastic: Great for its resistance to moisture and damage, but requires stronger adhesives.
- Stainless steel: An option for those seeking maximum durability, though it adds weight.
Each material has its own pros and cons, so think about what best fits your rocket’s needs!
Attachment Techniques
Attaching fins securely is essential for ensuring your rocket’s stability during flight.
Start by cutting your fins from sturdy materials like balsa wood, plywood, or plastic. For peak performance, aim for three or four identical fins.
Make sure their edges are smooth to minimize drag, as rough or uneven fins can negatively impact your rocket’s flight.
When it comes to bonding, choose the right glue: wood glue works well for balsa fins, while epoxy is best for plastic fins.
Apply a strong adhesive to the base of each fin and press them firmly onto the rocket body.
Importance of Alignment
If you want your rocket to soar straight and true, proper fin alignment is essential.
Misaligned fins can cause erratic flight paths, making it difficult to control your rocket.
Here are some key points to take into account for ideal fin alignment:
- Use three or four identical fins to enhance stability and minimize drag.
- Make sure fins are smooth and uniform in shape for a streamlined flight.
- Apply strong adhesives like wood glue or epoxy for secure attachment.
- Check alignment with a level or straight edge, making sure each fin is perpendicular to the rocket body.
Taking these steps will help ensure your rocket has a successful flight. Happy launching!
Engine Resistor
The engine resistor plays a vital role in guaranteeing your model rocket’s success by keeping the engine securely in place during flight.
To create the engine resistor, insert a paper clip through the fins, making sure it extends enough to anchor the engine without disrupting aerodynamics.
Once positioned, use hot glue to secure the paper clip to the fins, providing a stable attachment that can withstand launch forces.
Keep in mind that making the engine resistor too tall could complicate retrieval after landing.
You want a balance between security and practicality.
Completing the engine resistor setup is necessary before moving on to install the recovery system.
This step assures your rocket performs at its best during its ascent.
Recovery System
Since a successful launch isn’t complete without a reliable recovery system, you’ll want to guarantee your model rocket descends safely after its thrilling ascent.
The recovery system typically features a parachute or streamer that deploys to assure a gentle landing.
Here are some key components to contemplate:
- A medium-sized rubber band attaches the recovery system to the nose cone, allowing it to separate during descent.
- A shock cord connects the nose cone and rocket body, preventing loss during recovery.
- Recovery wadding protects the parachute or streamer from burning due to the ejection charge.
- Proper design and secure attachment are critical to guaranteeing your rocket’s safe return for future launches.
With these elements in place, your recovery system will work effectively.
Frequently Asked Questions
What Safety Gear Should I Wear During the Launch?
You should wear safety goggles to protect your eyes, gloves to prevent burns, and sturdy shoes to safeguard your feet. A long-sleeved shirt can also help shield your skin from debris during the launch.
How Do I Choose the Right Launch Site?
Choosing a launch site is essential; nearly 60% of model rocket accidents occur due to poor location. Look for open, flat areas away from people and buildings, ensuring you’ve got enough space for a safe launch.
Can I Use Model Rocket Engines From Different Brands?
You can use model rocket engines from different brands, but it’s important to guarantee compatibility. Check the specifications and performance ratings to avoid issues during launch. Stick to recommended combinations for safer, more reliable flights.
What Should I Do if the Rocket Doesn’t Launch?
If your rocket doesn’t launch, check the igniter connection and verify the engine’s seated properly. Sometimes, it feels like a bird stuck in a cage—just give it a little nudge, and let it soar!
How Can I Improve My Rocket’s Flight Stability?
To improve your rocket’s flight stability, guarantee it has a proper center of gravity by adjusting weight distribution. Add fins for better aerodynamics, and use a longer rocket body to enhance stability during flight.
Conclusion
Now that you’ve built your homemade model rocket, you’re ready to see your hard work soar!
Imagine standing in an open field, watching as your rocket climbs high into the sky. It reaches its peak before gracefully descending with its recovery system.
Each step you took—from crafting the fuselage to attaching the fins—has led to this thrilling moment.
So gather your friends, launch your creation, and celebrate the excitement of rocketry!
Enjoy the journey and keep experimenting!
In conclusion, the joy of launching your homemade model rocket is truly rewarding. Each launch is an opportunity to learn and grow in your rocketry skills. So, embrace the excitement, share your experiences, and always look for ways to improve your designs. Remember, rocketry is about creativity and exploration, so keep pushing the boundaries of your inventions!