7 Simple Steps to Build a DIY Rocket Kit
To build a DIY rocket kit, you’ll embark on an exciting journey of creativity and science!
First, gather your materials: two recycled plastic bottles, rocket fins, and foam heads.
Next, it’s time to assemble the rocket body. Stack the bottles and securely attach the fins to ensure stability.
Once that’s done, design and attach the rocket head.
Now, prepare for launch! You’ll want to ensure proper alignment and pressurization to get the best results.
When you’re ready, launch your rocket using a bike pump.
Don’t forget to experiment with different designs and water amounts to see how they affect performance!
You’ll discover exciting tips and tricks along the way.
Building a DIY rocket kit is not just fun; it’s a fantastic way to learn about the principles of aerodynamics and physics!
Key Takeaways
- Gather necessary materials including two plastic bottles, fins, foam rocket heads, and a safe launch site.
- Assemble the rocket by stacking bottles, attaching fins, and securing the foam head.
- Ensure all components are aligned and securely attached before launch.
- Use a bike pump to pressurize the bottles for launching the rocket.
- Experiment with different designs and water amounts to analyze flight performance.
Gather Your Materials
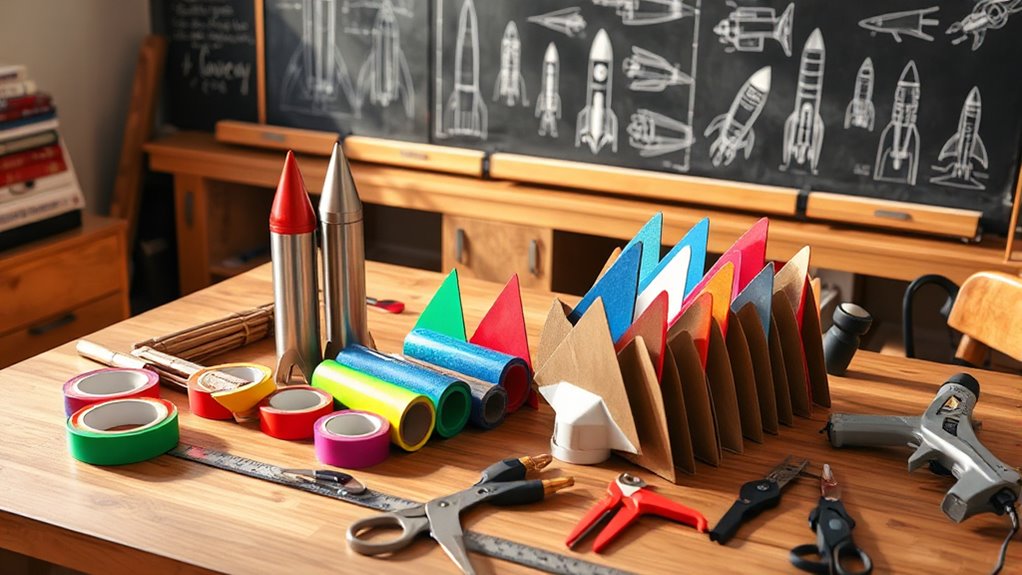
To kick off your DIY rocket project, start by gathering essential materials.
You’ll need two recycled plastic bottles, which will form the body of your rocket and help harness pressure for launching.
Next, collect the rocket sheet designs and nine rocket fins to customize and stabilize your creation during flight.
Don’t forget to grab foam rocket heads and fun stickers to enhance your rocket’s appearance and add a splash of creativity.
Also, make sure you have access to a safe, open launch site for an enjoyable experience.
Finally, familiarize yourself with basic principles of physics and pressure, as this knowledge will greatly improve your rocket-building and launching adventure.
Get ready to blast off!
Assemble the Rocket Body
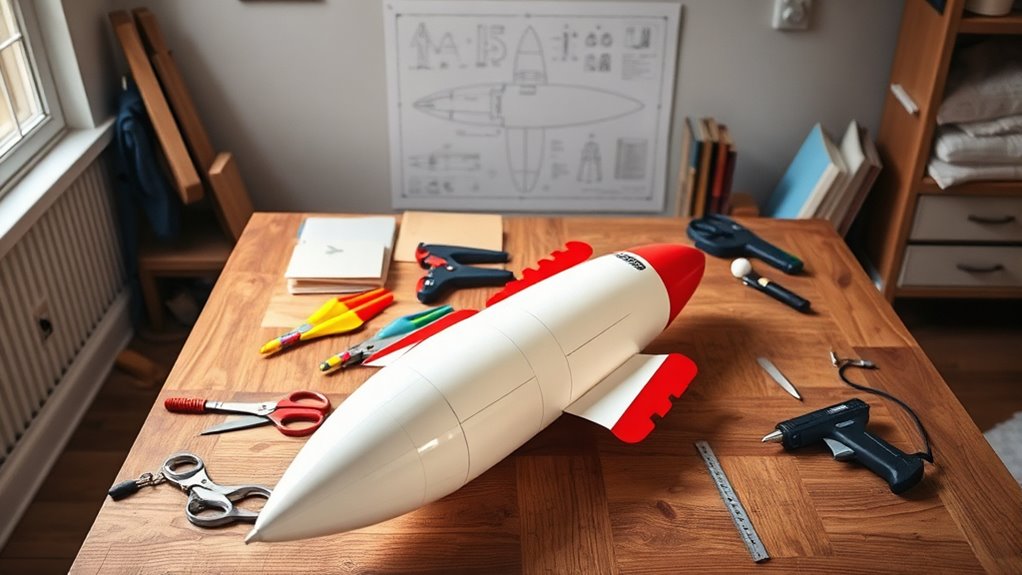
Now that you’ve gathered your materials, it’s time to assemble the rocket body. Start by cleaning and drying your two plastic bottles, then stack one upside down on the other to create a sturdy base. Don’t forget to attach the fins and foam rocket head for added stability and style!
Gather Required Materials
Building the body of your DIY rocket is an exciting step that sets the foundation for your launch.
To gather the required materials, start by collecting a few essential items:
- Two recycled plastic bottles – These will be your rocket’s main body for pressure propulsion.
- Foam rocket heads – You’ll need these to enhance stability and aesthetics at the top of your rocket.
- Rocket sheet designs – Use these to create an eye-catching outer appearance; make sure to cut them out accurately for a snug fit.
Next, assemble the nine rocket fins and attach them securely to the lower part of the bottles for aerodynamic stability.
Finally, don’t forget to decorate your rocket with the fun stickers to personalize your creation!
Assemble Bottle Components
As you prepare to assemble your rocket body, gather your two recycled plastic bottles, which will form the core of your design.
One bottle will act as the pressure chamber, while the other serves as the nozzle to optimize thrust. If needed, cut the tops off the bottles to create a secure fit, ensuring they align properly for effective launching.
Once the bottles are prepared, attach the foam rocket head onto the top of the nozzle bottle.
This will complete the assembly of your rocket body. You’re now ready for the next steps to enhance your rocket’s stability and performance.
With these components in place, your DIY rocket is well on its way to soaring through the sky!
Secure Fins Properly
To guarantee your rocket flies smoothly, securing the fins properly is vital.
Follow these steps to confirm stability and performance during your launch:
- Cut Out Fins: Select the appropriate rocket sheet design and cut out the fins using the provided templates in your DIY Rocket Kit.
- Align Fins: Carefully align each fin with the rocket body. Proper placement is essential for maintaining stability during flight.
- Attach and Dry: Use the adhesive from the kit to firmly attach each fin.
Allow the adhesive to dry completely before moving on to the next steps.
Finally, verify the placement by gently shaking the rocket.
If the fins don’t wobble, you’re ready for an exciting launch!
Create the Rocket Fins
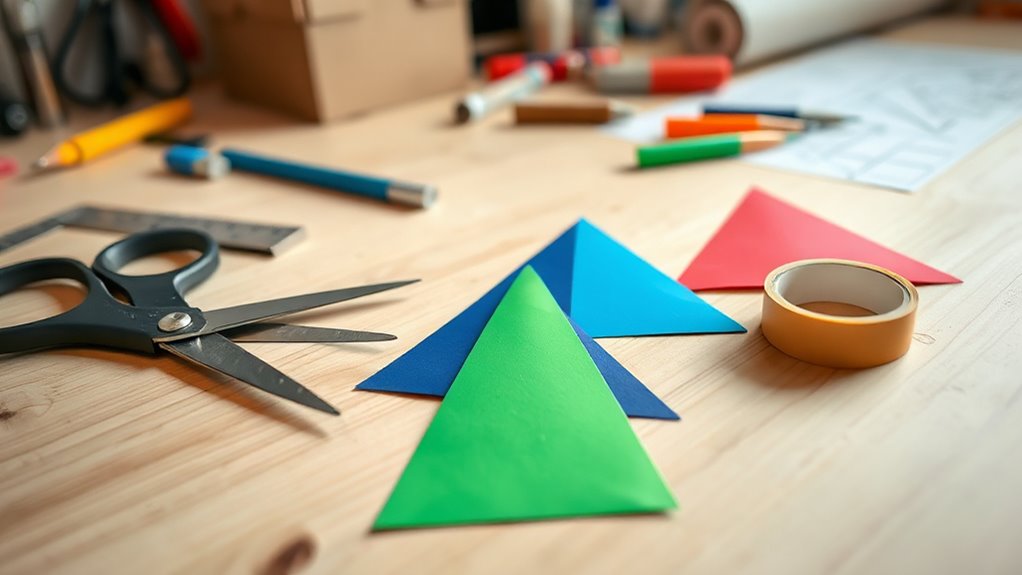
Creating the rocket fins is a crucial step in ensuring your rocket flies smoothly and performs well.
Start by selecting one of the three rocket sheet designs included in your DIY Rocket Kit. Carefully cut out the fins from your chosen design, following the outlined shapes for ideal aerodynamics.
Once you’ve got the fins ready, use the provided foam rocket heads to attach them securely to the base of your rocket.
Make sure they’re evenly spaced for balanced flight. To add a personal touch, decorate the fins with fun stickers from the kit.
Before you launch, check that the fins are firmly attached and inspect for any loose edges to guarantee the best performance when it takes off!
Design and Attach the Rocket Head
Now it’s time to design and attach your rocket head. Choose one of the foam rocket heads that fits snugly on your bottle, and secure it with glue or tape for a tight connection. Don’t forget to add your personal touch with the fun stickers included in the kit!
Select Rocket Head Design
Choosing the right rocket head design is essential for your DIY rocket‘s performance and style.
Start by selecting one of the three rocket sheet designs included in your kit.
Once you’ve chosen the rocket body, pick a foam rocket head that fits securely on top.
Follow these steps to guarantee a successful attachment:
- Align the rocket head properly with the body.
- Press down firmly to secure the head in place.
- Use the fun stickers provided to personalize and decorate your rocket head.
Don’t forget to review the assembly instructions to confirm that the rocket head is attached correctly.
A well-designed head not only enhances your rocket’s look but also contributes to its launch effectiveness!
Securely Attach With Adhesive
After you’ve selected the perfect foam rocket head, it’s time to fasten it to your rocket body using adhesive.
Start by applying a strong adhesive like craft glue or hot glue around the rim of the rocket body where the head will attach. This guarantees a solid bond.
Next, press the foam rocket head firmly onto the adhesive-covered rim, holding it in place for a few moments. This step is essential for proper adhesion.
Once you’ve done this, allow the adhesive to dry completely according to the manufacturer’s instructions. This will make sure your rocket head stays put during launch.
You’re now ready to move on to the fun part—decorating your rocket!
Decorate for Personal Touch
There’s something exciting about giving your rocket a personal touch, and decorating it is where your creativity really shines.
Start by choosing one of the three rocket sheet designs included in your kit to give your rocket a unique look.
Then, let’s add some flair:
- Use the fun stickers provided to personalize your rocket.
- Carefully attach the foam rocket head to the top for stability and an aerodynamic shape.
- Make certain that all components are securely attached to withstand the pressure during launch.
Once you’ve decorated and assembled your rocket, you’ll blend creativity with educational fun.
Now, you’re all set for an exhilarating launch experience!
Prepare for Launch
Before you launch your DIY rocket, gather your materials and make certain everything’s in place.
Start by collecting two recycled plastic bottles; these are essential for your rocket’s pressure system.
Next, grab the rocket sheet designs and fins to customize both the look and stability of your rocket.
Assemble the foam rocket heads and securely attach them to the top of the bottles for enhanced aerodynamics.
Double-check that all components are firmly attached to withstand the forces during launch and maximize height.
Finally, be sure to follow the instructions included in your kit carefully.
This will help you understand how to properly launch your rocket and witness the exciting principles of physics in action.
Launch Your Rocket
With your rocket fully assembled and all components in place, it’s time to launch!
Follow these steps to see your creation soar into the sky:
1. Prepare the Bottles: Fill the two recycled plastic bottles with water, about one-third full.
This water will create the necessary pressure for a successful launch.
2. Attach the Bottles: Securely Attach the Bottles to the rocket body, ensuring they’re aligned correctly for a straight ascent.
This alignment is crucial for a smooth takeoff.
3. Pressurize and Launch: Use a bike pump to pressurize the bottles through the launch mechanism.
When you’re ready, release the pressure and watch as your rocket ascends!
Enjoy the thrill of your DIY rocket taking flight, and marvel at the wonders of physics in action!
Experiment and Explore Further
Once you’ve successfully launched your DIY rocket, it’s time to plunge into experimentation and exploration.
Use the three rocket sheet designs and nine rocket fins in your kit to create different models and observe how each change affects flight performance.
Experiment with the three rocket sheet designs and nine fins to explore how modifications impact your rocket’s flight performance.
Experiment with various amounts of water in the recycled plastic bottles; this will help you see how pressure changes impact launch height and distance.
Personalize your rockets with the fun stickers included, making them stand out during launches.
Conduct multiple launches and time each one to analyze how weather conditions, like wind, influence your rocket’s flight.
Finally, invite friends or family to collaborate, encouraging teamwork while deepening your understanding of physics and engineering principles.
Frequently Asked Questions
What Safety Precautions Should I Take During the Launch?
During the launch, always choose an open area, keep spectators at least 10 feet away, wear safety goggles, and inspect for hazards. Avoid launching indoors or in windy conditions to guarantee everyone’s safety.
How High Can My DIY Rocket Potentially Fly?
Your DIY rocket can potentially soar like a bird, reaching heights between 30 and 150 feet. By optimizing design, weight, and launch angle, you’ll reveal its true altitude potential. Experimentation is the key to flight success!
Can I Decorate My Rocket? if So, How?
Yes, you can definitely decorate your rocket! Use stickers, non-toxic markers, or paint for custom designs. Just keep decorations lightweight to guarantee your rocket flies well. Get creative with recycled materials for an eco-friendly touch!
What Is the Best Launch Site for My Rocket?
The best launch site for your rocket is a wide-open area, like a park or field, at least 100 feet from bystanders. Choose low wind conditions and make certain it’s dry for peak performance.
How Can I Improve My Rocket’s Performance?
To improve your rocket’s performance, guarantee fins are evenly spaced, experiment with head designs, use consistent launch pressure, add weight to the nose for balance, and test different launch angles for ideal distance.
Conclusion
Now that you’ve mastered the art of rocket building, you’re practically a space pioneer!
With just a few materials, you’ve turned your backyard into a launchpad for intergalactic adventures.
As your rocket soars into the sky, remember: you’re not just launching a DIY project; you’re sending your dreams into orbit!
So go ahead, release your inner astronaut and explore the cosmos—who knows, you might discover a new planet named after you!
In conclusion, building your own DIY rocket kit is an exciting journey that fuels creativity and curiosity.
As you launch into the sky, you’re not just engaging in a fun activity; you’re embracing the thrill of exploration.
So gather your materials, ignite your passion, and let your imagination take flight! After all, every backyard can be a launchpad for dreams and discoveries!