DIY Guide to Make Your Own Plush Toy
Creating your own plush toy is a fun and fulfilling project!
Whether you’re a beginner or an experienced crafter, making plush toys can be a delightful way to express your creativity. Start by choosing easy-to-handle fabrics like cotton quilting or felt.
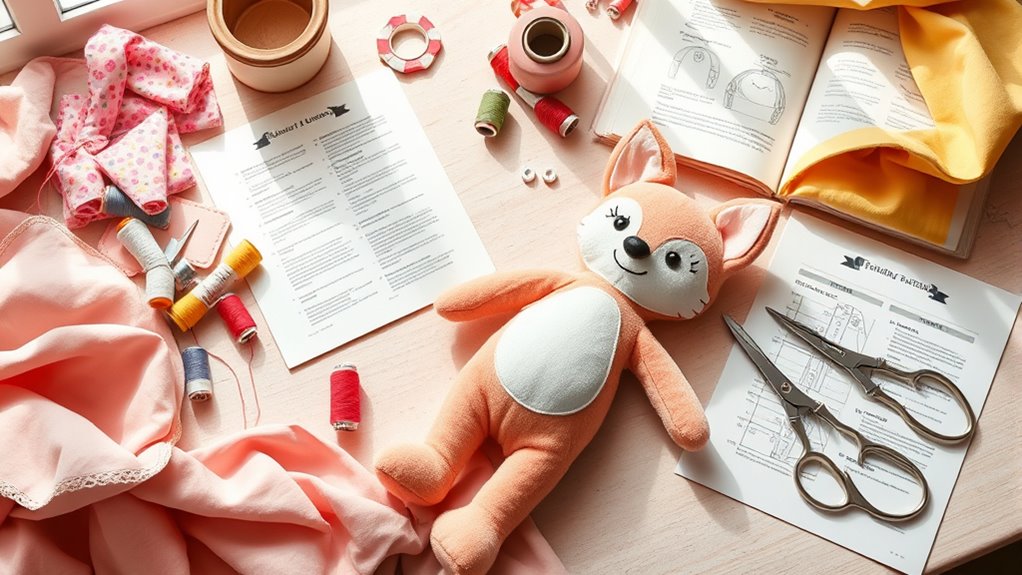
Once you’ve selected your materials, sketch a simple pattern and cut out the shapes.
Sew them together, leaving a gap for stuffing, then personalize with colors or embellishments.
After you’ve assembled your plushie, enjoy caring for and maintaining it.
Want to discover more tips and tricks to enhance your plush toy-making experience?
Key Takeaways
- Choose user-friendly fabrics like cotton quilting or felt for easy handling and comfort.
- Create a simple animal pattern, ensuring to add seam allowance for accurate sizing.
- Assemble two identical fabric pieces with finished sides facing inward, pinning and sewing edges securely.
- Stuff the plush toy evenly and sew up the gap using small stitches for durability.
- Personalize the toy with colors, embellishments, or embroidery to reflect your unique character design.
Understanding the Basics of Plush Toy Creation
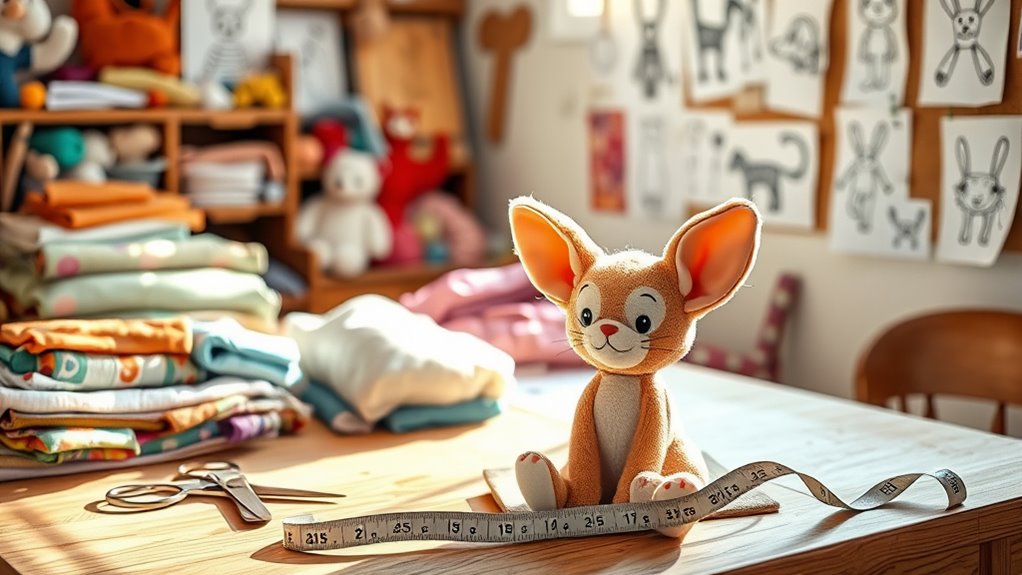
Creating your own plush toy can be a rewarding experience, especially if you understand the basics of the process.
Start by choosing easy-to-handle fabric, like cotton quilting or felt, which makes assembly simpler. Stick to basic sewing patterns to avoid overwhelming yourself.
Using fundamental techniques like straight and ladder stitches will help you securely attach fabric pieces.
Prototyping with lower-quality fabric is a smart move; it helps you identify and fix design issues before committing to your final plush toy.
Don’t forget to personalize your creation by selecting colors and embellishments that reflect your character or the recipient’s preferences.
Embracing these basics sets you on the right path to crafting a charming and unique plush toy you’ll be proud of!
Selecting Materials for Your Plush Toy
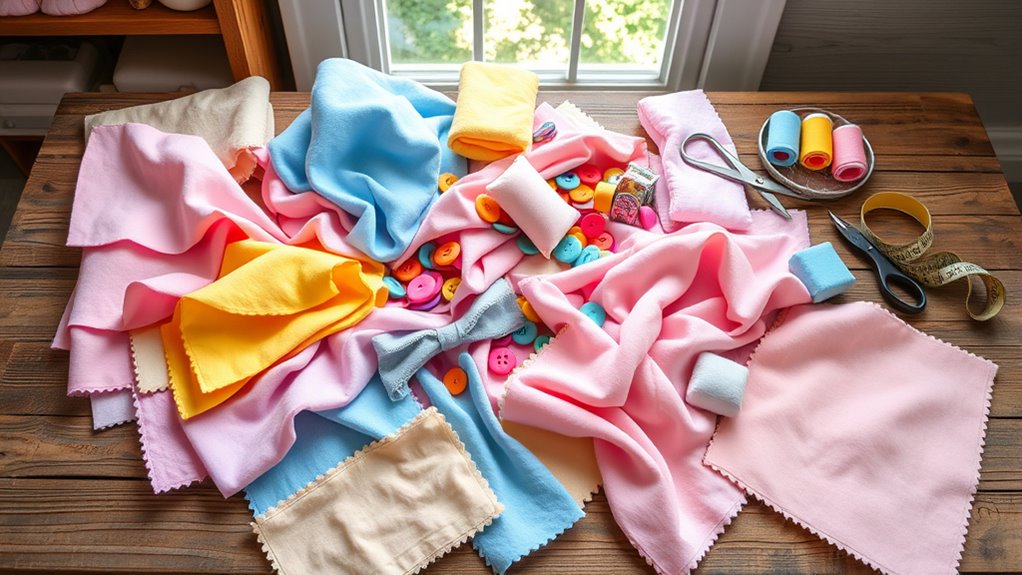
When selecting materials for your plush toy, you’ll want to choose fabrics that are easy to work with, like cotton quilting or felt. Don’t forget about stuffing options; cotton wool or polyester fiber can give your toy a soft finish. Finally, gather essential sewing tools to make your crafting experience smooth and enjoyable.
Recommended Fabric Types
Selecting the right fabric for your plush toy is essential, as it can greatly impact the final look and feel of your creation.
For beginners, cotton quilting and felt are ideal choices because they’re easy to work with and come in various colors and patterns.
Stick to simpler designs, avoiding complex patterns like stripes, to make assembly easier.
You might also consider repurposing old fabric items, such as shirts or towels, for a cost-effective and eco-friendly option.
If you want to add dimension, heavier fabrics like fleece or faux fur can work well, but they may require more sewing skills.
Always wash and iron your chosen fabric before cutting to eliminate creases and simplify the sewing process for your custom stuffed animals.
Stuffing Material Options
After you’ve chosen the perfect fabric for your plush toy, it’s time to think about the stuffing that will give it shape and comfort.
Your options for stuffing materials include polyester fiber filling, cotton wool, and recycled fabric scraps.
Polyester fiber filling is lightweight, hypoallergenic, and holds its shape well even after washing. This makes it a favorite among stuffed animal creators.
If you prefer a natural feel, cotton wool offers that, but it may need regular fluffing as it compresses over time.
For an eco-friendly choice, recycled fabric scraps add texture and weight. Just make sure to verify they’re free of lumps for a smooth finish.
Consider your plush toy’s intended use and washing needs when selecting the right stuffing.
Essential Sewing Tools
A well-equipped sewing kit is essential for crafting your plush toy.
Start by selecting fabrics like cotton quilting or felt, which are user-friendly and readily available.
If you’re on a budget, consider using fabric scraps from old shirts or towels for your custom stuffed animal.
Stick to simple patterns, as complex designs can make assembly tricky for beginners.
Before cutting your fabric, make certain it’s ironed and free of creases to simplify handling and sewing.
When designing your pattern, remember to add a half to one inch for seam allowance to guarantee a proper fit.
With these tools and materials, you’ll be well on your way to creating a charming plush toy!
Designing Your Plush Toy: Patterns and Shapes
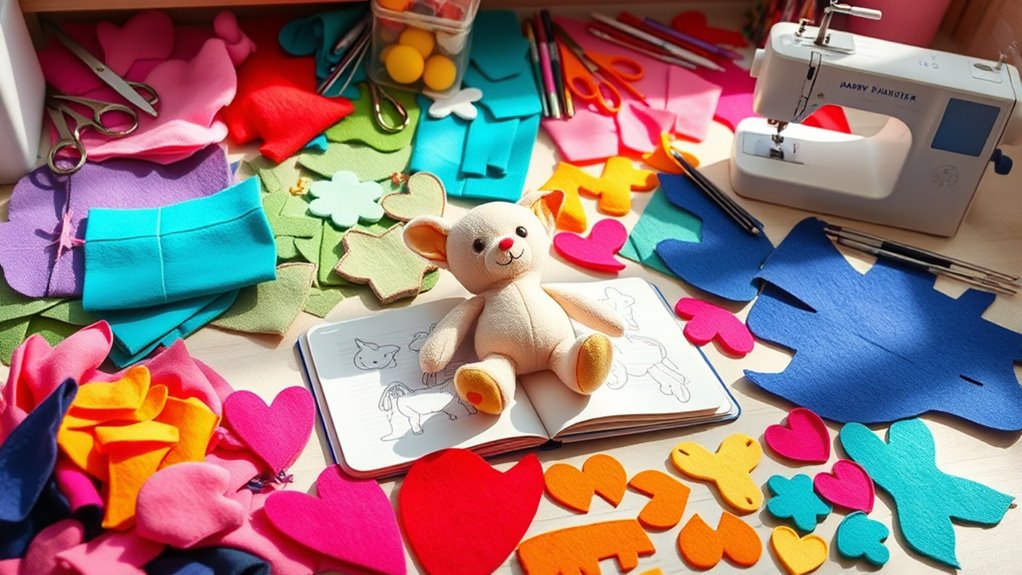
When you’re ready to design your plush toy, start by picking a simple animal shape; it makes the process easier and more enjoyable. Next, create your pattern by drawing an outline of that shape, adding seam allowance for a perfect fit. Don’t hesitate to use existing templates for guidance—they can save you time and help you get the proportions just right.
Selecting Animal Shapes
Choosing the right animal shape for your plush toy can make all the difference in your crafting experience.
If you’re a beginner, consider simpler silhouettes like dogs or cats to help you get started. To make one, just draw a two-dimensional outline of your chosen shape and add half to one inch for seam allowance.
This guarantees a proper fit when sewn. As a custom plush creator, you can also utilize free online templates for inspiration and guidance.
Before tracing your pattern, make sure your fabric is ironed and free of creases to facilitate cutting.
For more complex features, break them down into basic shapes. This will make assembly easier and help you achieve the desired look more effectively.
Creating Simple Patterns
Creating simple patterns for your plush toy involves breaking down your animal shape into manageable components.
Start by drawing a two-dimensional outline of your chosen animal, adding half to one inch for seam allowance.
Use basic shapes like circles and rectangles to simplify the design process, making it easier to create patterns.
For quadruped stuffed animals, typical patterns include side pieces, head gussets, inner legs, and belly gussets.
Visualize how these pieces connect to avoid gaps and guarantee a smooth finish.
Additionally, consider using soft model techniques like needle-felting or wrapping a wire skeleton with fabric to refine shapes before creating your final patterns.
This approach will help you make a plush toy that looks great and holds together well.
Step-by-Step Guide to Assembling Your Plush Toy
To assemble your plush toy successfully, start by laying out your two identical fabric pieces with the finished sides facing inward.
Pin them together with horizontal pins spaced about half an inch apart to keep everything aligned during sewing.
Next, use a sewing machine or hand stitch along the pinned edges, leaving about an inch unsewn for stuffing the plush toy later.
After sewing, flip the fabric inside out to reveal the good side, pushing out corners for a clean finish.
Now it’s time to stuff the plush toy evenly with your chosen filling, guaranteeing not to overstuff.
Finally, sew up the gap used for stuffing with small, secure stitches, knotting the end to guarantee closure and trim any excess threads for a neat finish.
Personalizing and Embellishing Your Creation
While personalizing your plush toy, you can select fabric colors and patterns that truly reflect its character, making it unique and appealing.
To enhance your creation, consider these embellishments:
- Buttons for Eyes: They can add charm and personality. Just make sure they’re securely attached with a needle and thread for safety.
- Fabric Paint: Use it to add details or designs. This creates a one-of-a-kind look that showcases your creativity.
- Personal Touches: Incorporate initials or a special date with embroidery or fabric markers. It makes your plush even more special.
Remember to choose non-toxic materials, especially if your plush toy is meant for young children.
These thoughtful touches will guarantee your creation feels personal and cherished.
Tips for Caring and Maintaining Your Plush Toy
Caring for your plush toy is essential to keep it looking its best and to guarantee it lasts for years to come.
Regularly spot clean with one part soapy water and a microfiber cloth; this works well for maintaining its appearance and hygiene.
After cleaning, make certain to remove soap residue with a damp cloth and let the toy air dry completely to prevent mildew.
For deeper cleaning, you can tumble dry at a low temperature, but check the care instructions to avoid damage.
Additionally, inspect your plush toy for loose threads or embellishments.
You need to make any repairs to ascertain safety for children.
Finally, store plush toys in a dry, clean area to keep them soft and in shape.
Frequently Asked Questions
What Are the Best Tools for Plush Toy Making?
You’ll need scissors for cutting fabric, a sewing machine for quick stitches, pins to hold pieces together, and a needle for hand-sewing. Don’t forget stuffing and fabric markers for adding details and personal touches!
How Do I Market My Plush Toy Creations?
To get your plush toys noticed, start by showcasing them on social media. Create engaging posts, connect with communities, and consider setting up an online store. Remember, you’ve got to strike while the iron’s hot!
Can I Sell My Handmade Plush Toys Online?
Yes, you can sell your handmade plush toys online. Create an appealing online store, use social media for promotion, and engage with potential customers. Don’t forget to showcase your unique designs and craftsmanship!
What Safety Regulations Apply to Plush Toy Production?
When crafting plush toys, think of safety regulations as your guiding stars. You’ll need to follow standards like CPSIA in the U.S., which require testing for flammability and small parts. Compliance keeps your creations safe and marketable.
How Do I Find a Reliable Manufacturer for Plush Toys?
To find a reliable manufacturer for plush toys, research online, check reviews, and ask for recommendations. Once you shortlist candidates, request samples, compare pricing, and guarantee they meet safety standards and quality expectations.
Conclusion
Now that you’ve got the basics down and created your own plush toy, imagine the joy it’ll bring to you or someone special.
Each stitch and embellishment reflects your creativity and love, turning simple materials into a cherished companion.
With a little care, your plush creation can last for years, becoming a beloved keepsake.
So, what memories will you and your new friend create together?
Immerse yourself in your next project and let your imagination soar!
In conclusion, making your own plush toy is not just a craft; it’s an experience filled with joy and creativity.
Each creation is unique, reflecting your personality and the love you put into it.
So, gather your materials and dive into this rewarding project.
You’ll not only create a cuddly companion but also make memories that will last a lifetime!