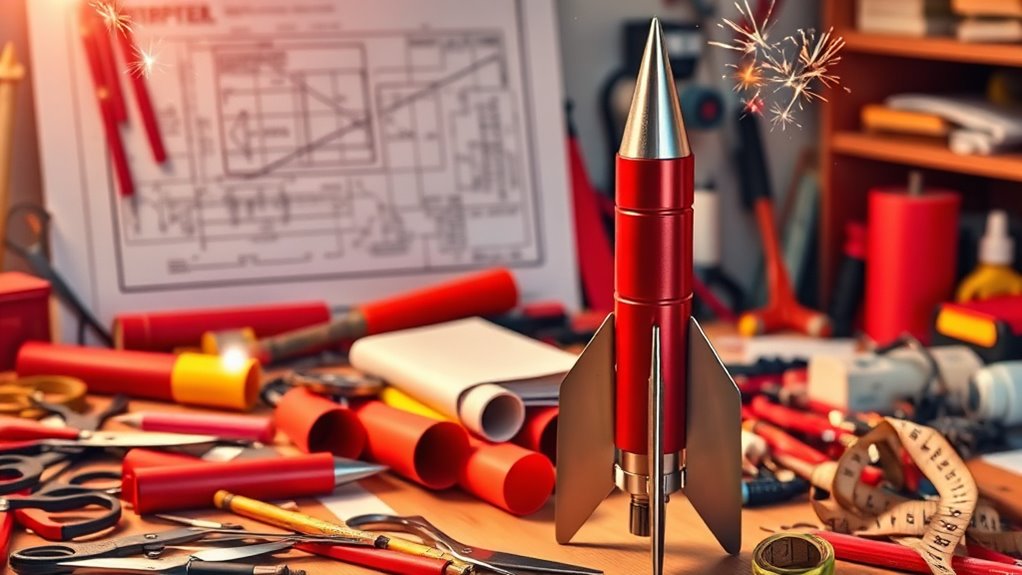
7 Simple Steps to Make a Model Rocket From Scratch
To make a model rocket from scratch, you’ll want to gather some essential materials. This includes a two-liter soda bottle, baking soda, and vinegar.
Once you have your materials, it’s time to design your rocket body.
Next, attach fins for stability. These fins will help your rocket fly straight and true.
Don’t forget to create a nose cone for improved aerodynamics. This will help reduce air resistance during flight.
When it comes to propulsion, choose a method that works for you. You can use the baking soda and vinegar reaction or opt for commercial engines.
Now, assemble your rocket carefully. Make sure everything is secure and in place.
Finally, get ready for launch! Find an open area to set off your rocket. Stand back and observe as your creation takes to the skies.
Keep exploring tips to enhance your model rocket experience!
Key Takeaways
- Gather materials including a two-liter soda bottle, baking soda, vinegar, fins, and a nose cone for your rocket construction.
- Design the rocket body, ensuring a secure bottom seal, tapered top, and attach fins symmetrically for stability.
- Choose your propulsion method, opting for baking soda and vinegar for DIY or commercial rocket engines for efficiency.
- Follow safety precautions by wearing goggles, launching in an open area, and maintaining distance from people and structures.
- Launch the rocket by mixing the propulsion materials, capping the bottle, and observing the reaction as it propels into the sky.
Gather Your Materials
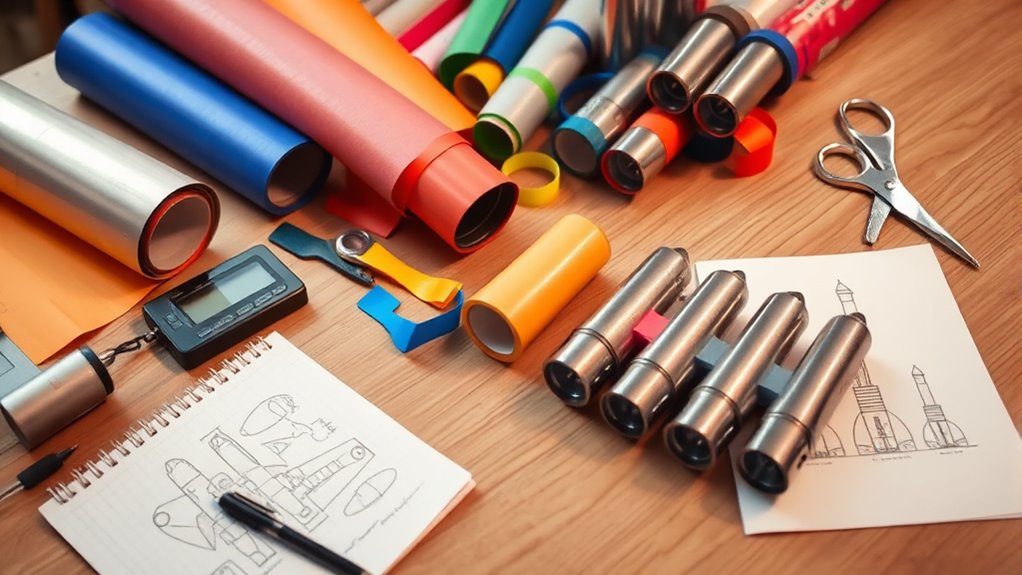
When you decide to build a model rocket from scratch, gathering your materials is the first vital step.
Start with a two-liter soda bottle, which will serve as your rocket body. Next, collect supplies like baking soda and vinegar for a simple propulsion method, or opt for commercial rocket engines if you’re aiming for something more advanced.
Begin your rocket journey with a two-liter soda bottle and choose between baking soda and vinegar or commercial engines for propulsion.
You’ll also need cardboard or plastic for fins and a cork or rubber stopper for the nose cone, both essential for stability.
Don’t forget to create a sturdy launch pad using wood or plastic to guarantee a safe launch.
Finally, prioritize safety equipment, like goggles, especially if you’re using pressurized methods or commercial engines during your launch.
Design the Rocket Body
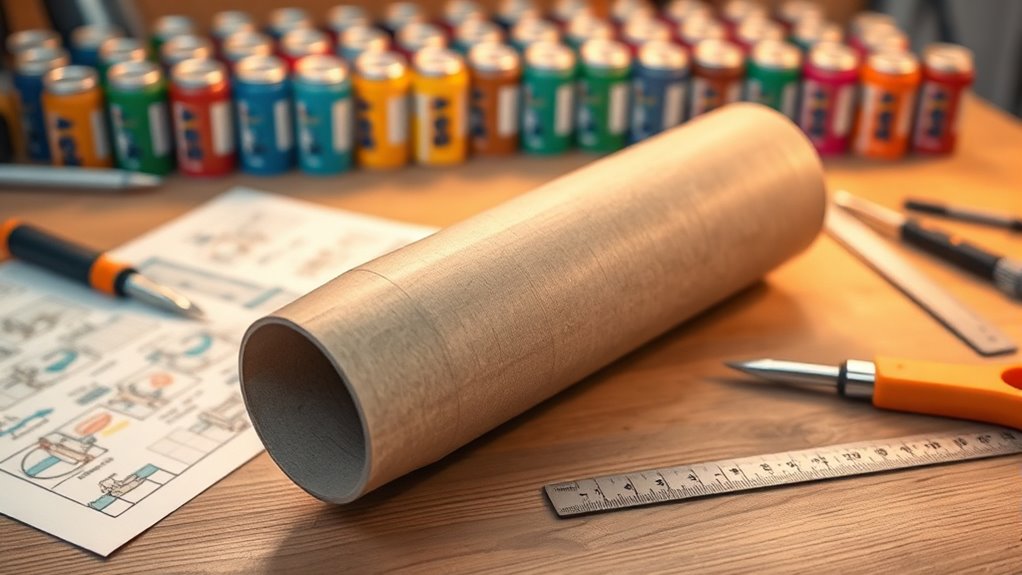
To design the rocket body effectively, start with a lightweight two-liter soda bottle that offers both strength and flexibility.
Make sure to securely seal the bottom using tape or a suitable adhesive to contain the pressure during launch.
For improved aerodynamics, consider tapering the top or adding a cone-shaped nose; this reduces air resistance and enhances flight stability.
While you’ll focus on the rocket body now, keep in mind that adding fins will help with directionality later on.
Finally, paint or decorate your rocket with waterproof materials.
This not only enhances visibility but also protects it from moisture during launches.
With these steps, you’ll have a solid foundation for your model rocket.
Attach the Fins
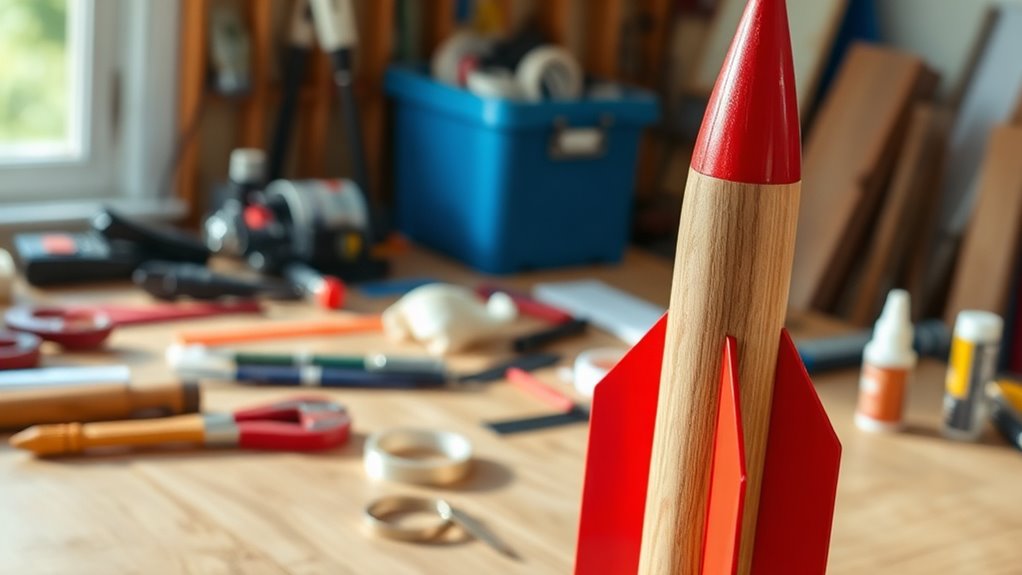
Although attaching the fins might seem straightforward, it’s essential for ensuring your rocket flies straight and true.
Begin by cutting your fins from lightweight materials like balsa wood or cardstock to minimize drag. Aim for a symmetrical, triangular design with equal angles for balanced stability.
Cutting fins from lightweight materials like balsa wood or cardstock ensures minimal drag and balanced stability for your rocket.
Once you’ve shaped the fins, use a strong adhesive, such as wood glue or hot glue, to attach them securely to the rocket’s lower portion.
Position three or four fins evenly around the body to maintain balance and prevent spinning during ascent.
After securing the fins, allow ample time for the glue to dry completely.
This step is vital for durability in flight and will help your rocket achieve the best performance possible.
Create the Nose Cone
Now that you’ve attached the fins, it’s time to create the nose cone. You’ll need lightweight materials and some shaping techniques to achieve that streamlined design. Don’t forget to secure it properly with adhesives to guarantee it stays put during your rocket’s flight!
Materials Needed for Nose Cone
Creating a nose cone for your model rocket requires lightweight materials that guarantee sturdiness and aerodynamics.
You can use cardstock, plastic, or foam for this purpose. Each of these materials provides the strength you need while keeping the overall weight low.
For an effective design, aim for a conical or ogive shape to reduce drag and ensure a smoother ascent. Start by cutting a circular base and tapering it to a point.
Make certain the diameter matches your rocket body for a snug fit. For extra stability, consider using the “cone and cylinder” approach, attaching the nose cone securely to a cylindrical body.
Finally, use glue or tape to firmly attach the nose cone, preventing any detachment during launch.
Shaping Techniques to Follow
To shape your nose cone effectively, start by selecting the right material, such as lightweight foam or balsa wood.
These materials can be easily molded into the desired form.
A common technique for creating a nose cone involves cutting a circular piece of your chosen material and tapering it down to a point.
This conical shape reduces aerodynamic drag, enhancing your rocket’s performance.
Make certain the size and shape of your nose cone are proportional to the overall length of your rocket for ideal results.
Once you’re satisfied with the shape, you can prepare it for attachment to the rocket body.
Keep in mind that the nose cone should fit snugly to guarantee it stays in place during the launch.
Securing With Adhesives Properly
As you prepare to secure your nose cone to the rocket body, using a strong adhesive is essential for guaranteeing a stable attachment.
Follow these steps for the best results:
- Sand the edges of both the nose cone and rocket body to create a better bonding surface.
- Choose a strong adhesive, like epoxy or hot glue, and apply it evenly to both surfaces.
- Allow adequate curing time for the adhesive to set completely, preventing any detachment during flight.
- Reinforce the joint with lightweight tape after the adhesive has dried, adding extra strength.
If your nose cone’s made of paper or cardboard, verify the adhesive is compatible to avoid any warping.
With these tips, your nose cone will be securely attached!
Choose Your Propulsion Method
When it comes to propulsion methods for your model rocket, you’ve got some exciting options. You can choose the simplicity of baking soda and vinegar for a fun DIY project or opt for commercial rocket engines for a more controlled flight experience. Each method offers unique insights into rocketry, so think about what fits your goals best.
Baking Soda and Vinegar
If you’re looking for a fun and educational way to launch a model rocket, baking soda and vinegar might be the perfect choice for you.
This method creates a thrilling chemical reaction that propels your rocket skyward. Here’s how to get started:
- Gather Materials: You’ll need a two-liter soda bottle, baking soda, vinegar, and a cork or cap.
- Mix Ingredients: Combine equal parts baking soda and vinegar in the bottle.
- Seal and Launch: Quickly seal the bottle with your cap or cork. Step back and watch the pressure build!
- Experiment: Adjust the amounts of baking soda or vinegar to see how it affects your rocket’s flight.
This safe, classroom-friendly project encourages creativity and collaboration with fellow enthusiasts!
Commercial Rocket Engines
Commercial rocket engines offer a reliable and efficient way to power your model rocket, making them a popular choice among hobbyists.
Engines like the A-8 are pre-manufactured for specific rocket types, simplifying the process for beginners. Each engine features a specific thrust rating and burn time, critical for planning your rocket’s flight path and altitude.
Safety is paramount; these engines come with built-in safety features and clear handling guidelines, ensuring a secure launch experience.
Don’t shy away from experimenting with different engine sizes and types; doing so will deepen your understanding of rocketry and refine your launching techniques.
With commercial engines, you can focus more on the thrill of flight rather than the complexities of propulsion.
Assemble the Rocket
Assembling the rocket is an exciting step that brings your project to life.
Here’s how to do it effectively:
- Gather Materials: Collect a two-liter soda bottle, baking soda, vinegar, and optional launch pads or sticks for stability.
- Create a Funnel: Use paper or plastic to make a small funnel. This will help you add baking soda without spilling.
- Pour Vinegar: Carefully measure and pour vinegar into the bottle. Just make sure to leave enough space for the baking soda to create pressure.
- Seal and Launch: Quickly cap the bottle after adding baking soda. Then, place it upside down on a launch pad.
Now, stand back and watch the thrilling reaction build pressure until the cap pops off.
Get ready to see your rocket launch into the sky!
Prepare for Launch
Before you launch your rocket, it’s essential to guarantee everything is set up for a successful flight.
Start by gathering your materials: a two-liter soda bottle, baking soda, and vinegar.
Always take safety precautions—wear goggles and choose an open area away from people and structures.
Next, measure and mix the baking soda and vinegar inside the bottle.
This chemical reaction will create pressure, which is crucial for your launch.
Secure the bottle with a cork or stopper to keep that pressure contained until you’re ready to launch.
Experiment with different launch angles to see how they affect your rocket’s flight path.
This step adds fun and teaches you about aerodynamics in action!
Frequently Asked Questions
What Safety Precautions Should I Take During the Launch?
During the launch, wear safety goggles, maintain a safe distance of at least 15 feet, and make certain you’re in an open area. Always check weather conditions and have a fire extinguisher ready for emergencies.
How High Can My Model Rocket Potentially Fly?
Your model rocket can soar like an eagle, reaching altitudes between 100 and several thousand feet. Factors like design, engine type, and launch conditions play vital roles in determining just how high it can fly.
Can I Use Recycled Materials for My Rocket?
Absolutely, you can use recycled materials for your rocket! Items like plastic bottles, cardboard tubes, and paper not only cut costs but also spark creativity, helping you build a unique and eco-friendly model rocket.
What Type of Glue Is Best for Assembling the Rocket?
Choosing the right glue is like picking the perfect tool for a job. For assembling your rocket, use white glue for lightweight materials, super glue for quick bonds, or epoxy for durability in high-stress areas.
How Do I Recover the Rocket After Launch?
To recover your rocket after launch, attach a compact parachute or streamer. Make certain it’s securely packed and lightweight. A nose weight can stabilize descent. Always follow local regulations for safe recovery practices.
Conclusion
Now that you’ve crafted your very own model rocket, get ready for an adventure that’ll make you feel like a space explorer!
With just a few simple steps, you’ve transformed everyday materials into a soaring masterpiece that could rival NASA’s finest!
When you launch it, you won’t just watch it fly; you’ll witness a spectacular explosion of excitement that’ll leave your neighbors in awe.
So, grab your launch pad and prepare for liftoff—it’s time to conquer the skies!
Launching your model rocket is more than just a flight; it’s an exhilarating experience filled with joy and wonder.
Feel the excitement as it climbs higher and higher, showcasing your hard work and creativity.
Remember, each launch is a chance to learn and improve. So, don’t forget to share your journey with friends and family.
Get ready for a thrilling adventure into the skies with your amazing model rocket!