How to Create a Fun Preschool Rocket Craft in 5 Easy Steps
To create a fun preschool rocket craft in five easy steps, you’ll want to gather some supplies first.
Grab a paper roll, colorful craft papers, and glue.
These materials will set the foundation for your exciting rocket project!
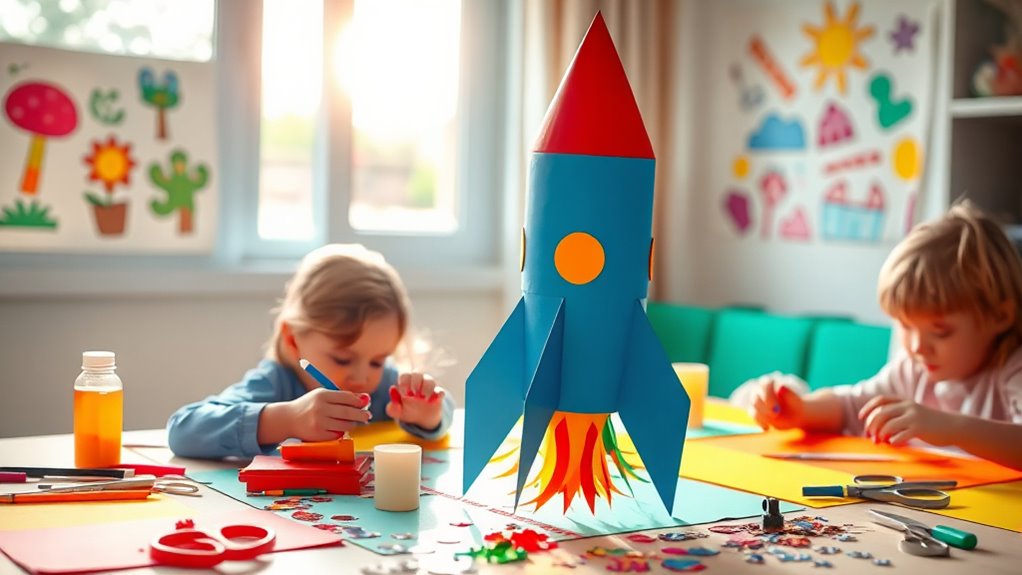
Next, prepare the rocket body by covering the paper roll with vibrant paper.
This will give your rocket a colorful and eye-catching look.
Now, let’s create the nose of the rocket!
You can do this by tracing and cutting a cone shape from cardstock.
Assemble your rocket by adding windows and stands to complete the look.
Finally, don’t forget to personalize it!
Add names and decorations to make each rocket unique.
This project is sure to spark creativity as you get started!
Key Takeaways
- Gather supplies like a paper roll, colored craft papers, scissors, and craft glue for the rocket craft.
- Prepare the rocket body by covering the paper roll with colorful paper and adding fun decorations.
- Create the rocket nose by tracing, cutting, and gluing a cone shape from cardstock onto the top of the rocket body.
- Assemble the rocket by attaching windows, adding stands, and securing the cone shape to complete the structure.
- Personalize your rocket with unique patterns, names, and extra embellishments like stickers or glitter for a creative touch.
Gather Your Supplies
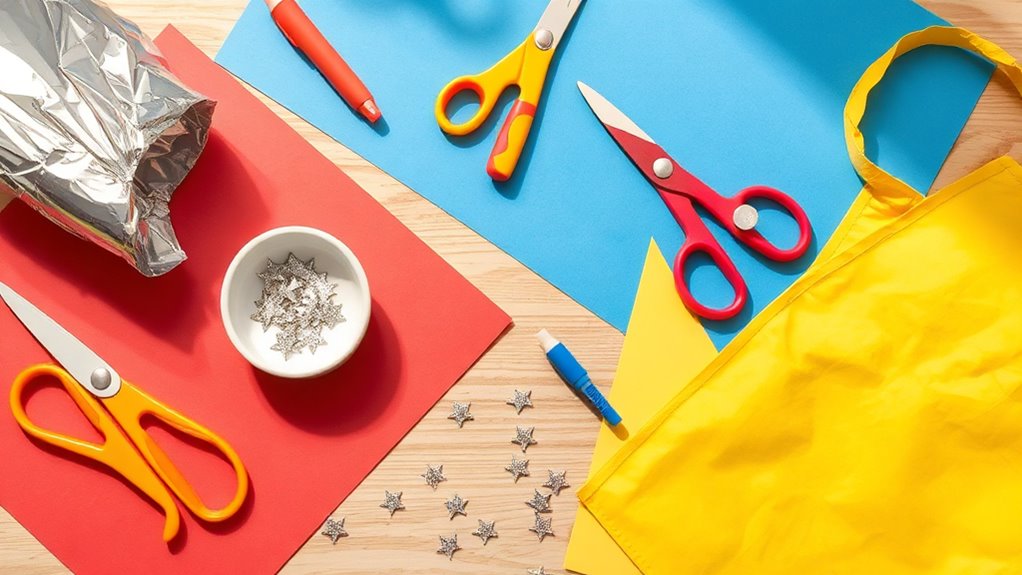
To create your preschool rocket craft, you’ll need just a few essential supplies.
Start with a paper roll as the main body of your rocket.
Next, gather colored craft papers and colored cardstock paper to give your rocket a vibrant look.
Gather colorful craft papers and cardstock to make your rocket eye-catching and full of life.
Make sure you have a pencil and scissors handy for tracing and cutting out shapes from the craft materials.
You’ll also need craft glue to securely attach different components during assembly.
For added fun, consider optional supplies like markers or stickers to personalize your rocket.
Finally, make sure to download and print the free rocket template to help you accurately create your rocket’s features.
With these supplies ready, you’re set to launch into crafting!
Prepare the Rocket Body
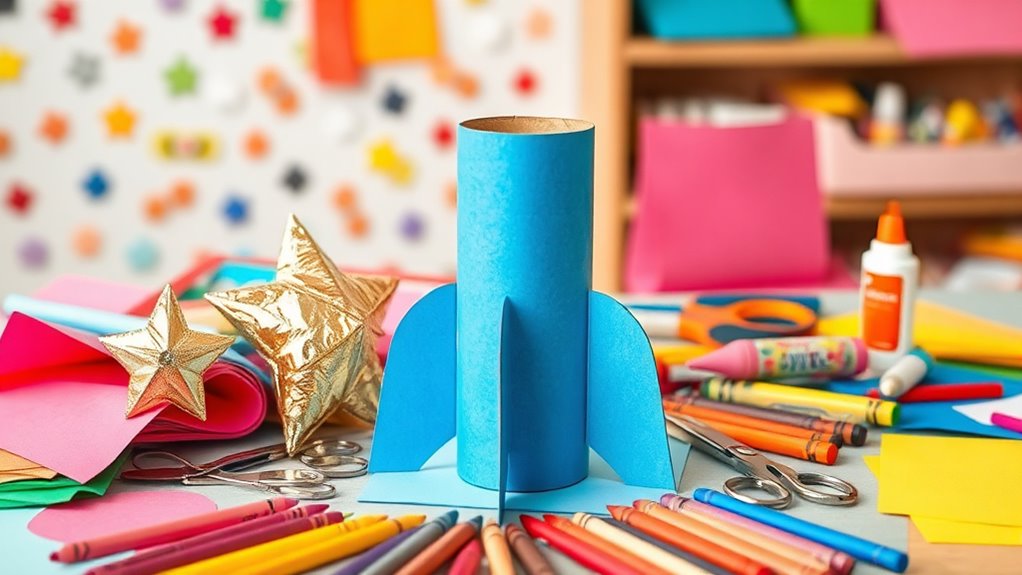
Start by taking your paper roll and transforming it into the rocket body.
Make sure it’s sturdy enough for crafting. Cover the roll with colorful craft paper or paint it for a vibrant look that’ll capture attention.
Next, grab your rocket template and use a pencil to trace the round shapes and patterns onto colored craft or cardstock paper.
Carefully cut out the traced shapes, ensuring you have clean edges for a polished appearance.
Finally, assemble the rocket body by gluing the cutouts onto the covered paper roll.
Add windows and decorations to bring your rocket to life.
This step sets the foundation for your fun preschool rocket craft, making it ready for the next exciting part!
Create the Rocket Nose
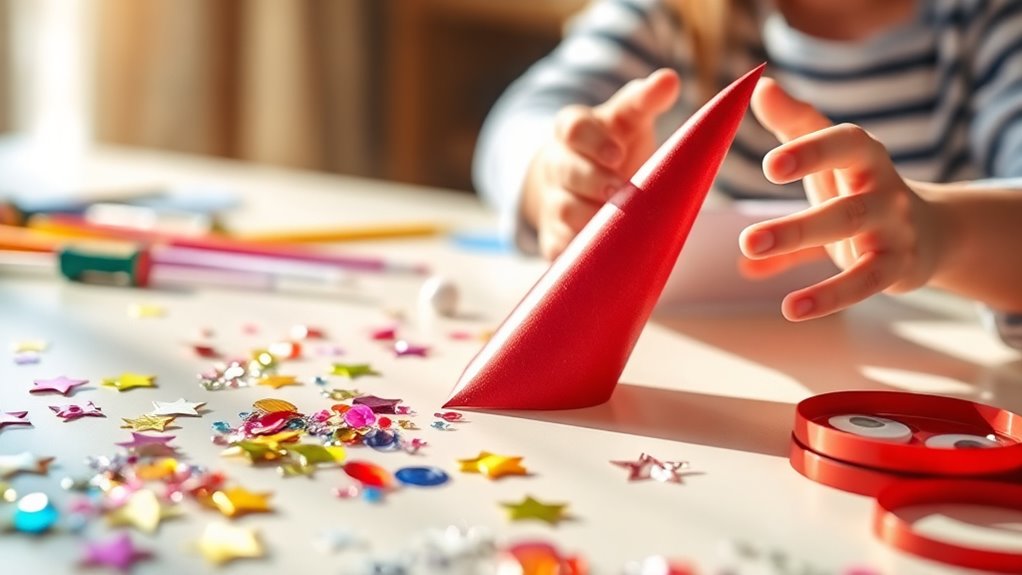
With the rocket body ready, it’s time to create the rocket nose, which adds a fun finishing touch.
First, download and print the free rocket template that includes the cone shape.
Next, grab some colored cardstock paper and trace the cone shape from the template, making sure it fits your paper roll perfectly.
Carefully cut out the cone shape with scissors, following the outline for a neat finish.
Once you’ve got your cone, roll it into shape and secure it with craft glue.
Make sure to hold it in place until it dries completely.
After it’s dry, attach the cone to the top end of your covered paper roll.
Now your rocket nose is complete, ready for the next exciting step!
Assemble the Rocket
Now it’s time to assemble your rocket and bring it to life!
Start by gluing round shapes onto the covered paper roll to represent windows on your rocket. Next, cut four slits about 1 inch from the bottom of the paper roll to prepare for attaching the stands.
Slide the stand cutouts through the slits you created and secure them in place. This will give your rocket a sturdy base!
After that, securely attach the cone shape to the top end of the paper roll to complete the rocket’s nose. Make sure everything is glued firmly.
Finally, allow the glue to dry completely before displaying or playing with your finished rocket craft.
Enjoy your exciting new creation!
Personalize Your Rocket
Personalizing your rocket adds a special touch that makes it truly one-of-a-kind.
Start by using colored craft papers to create unique patterns. Letting kids choose their favorite colors and designs makes it even more fun!
Encourage them to write their name or a fun phrase on the rocket’s body with stickers or markers.
For windows, incorporate different shapes like stars or hearts to boost creativity and teach shape recognition.
Let kids decorate the cone shape with glitter, stickers, or their own drawings. This way, it will reflect their personality perfectly.
You can also provide options for extra embellishments like foil or sequins.
This will give their rockets a sparkly, personalized touch.
In the end, each rocket becomes a cherished masterpiece!
Frequently Asked Questions
What Age Group Is This Craft Suitable For?
This craft’s perfect for preschoolers aged 3 to 5 years. You’ll find it encourages their fine motor skills and creativity, making it an engaging and educational activity for both home and classroom settings.
Can We Use Recycled Materials Instead?
Absolutely, you can use recycled materials! Cardboard tubes, old magazines, and plastic bottle caps make great rocket components. This not only sparks creativity but also teaches sustainability, turning craft time into a valuable learning experience.
How Long Does the Craft Take to Complete?
It typically takes about 30 to 45 minutes to complete the craft. If you’re working with younger kids, you might want to set aside an hour for a relaxed, enjoyable experience without feeling rushed.
What Should I Do if My Glue Doesn’t Stick?
If your glue doesn’t stick, make sure the surfaces are clean and dry. Switch to a stronger adhesive like hot glue, or check the expiration date of your glue. Give it time to set properly.
Are There Any Safety Tips for Using Scissors?
When using scissors, always supervise young children. Choose safety scissors, teach them to cut away from their bodies, and remind them to place scissors down flat when not in use. Safety first!
Conclusion
Now that you’ve crafted your incredible rocket, it’s ready to blast off into a galaxy of imagination!
With colors brighter than a supernova and sparkles that could rival the stars, your creation is bound to inspire interstellar adventures.
Get ready for epic missions to Mars or wild rides around the Milky Way!
So, gather your friends, fuel up your creativity, and let your rocket soar through the universe of playtime.
There’s no limit to where it can take you!
Your fun preschool rocket craft is not just a project; it’s a launchpad for creativity and exploration.
Let the kids’ imaginations run wild as they embark on exciting space adventures together.
Remember, every rocket crafted is a new journey waiting to happen, so keep those creative juices flowing!