How to Build an Easy Cardboard Rocket Ship in 5 Simple Steps
To build an easy cardboard rocket ship, gather your materials and let your creativity soar! This fun and engaging project is perfect for kids and adults alike.
With just a few simple steps, you can create a stunning rocket ship that will be the envy of all your friends.
Start by cutting a triangle from a cereal box and shaping it into a cone for the top.
Next, attach this cone to a closed cylinder container using packing tape.
Now, cover your rocket in aluminum foil for a shiny look, and create wings to glue on for added flair.
Don’t forget to add fun details like colorful tissue paper inside to make your rocket ship truly unique!
Want to explore more tips for an amazing rocket ship? Keep going to find out more!
Key Takeaways
- Cut a triangle from cereal box cardboard and form it into a cone for the rocket top.
- Attach the cone to the closed end of a cylinder coffee container using packing tape.
- Cover the entire rocket in aluminum foil for a shiny, space-themed finish.
- Create and attach wings from cardboard, covering them in foil for added detail.
- Add decorative elements like doors and windows, and stuff the bottom with tissue paper for stability.
Materials
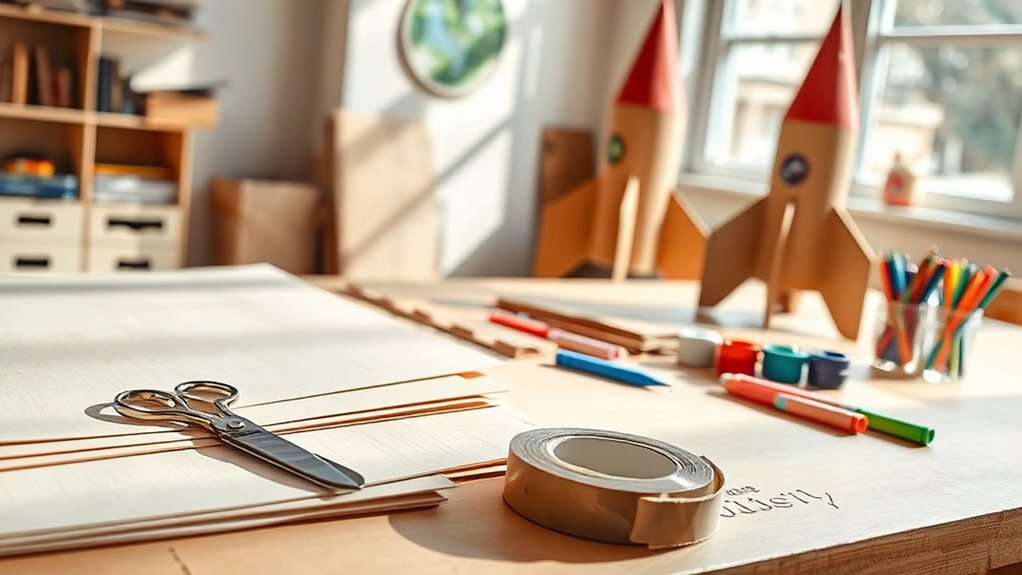
When you’re ready to commence on your cardboard rocket ship adventure, gather the right materials first.
Prepare for your cardboard rocket ship journey by collecting essential materials to ignite your creativity!
You’ll need a cylinder coffee-type container to serve as the main body of your rocket. Next, grab a cereal box; its cardboard will help you create various rocket parts like the cone shape and wings.
To give your rocket that shiny, space-like appearance, aluminum foil is essential.
For assembling and securing everything together, have packing tape and a glue gun on hand.
Finally, consider using tissue paper to stuff the bottom of your rocket, adding detail or enhancing the design.
With these materials ready, you’re all set to let your imagination soar!
Directions
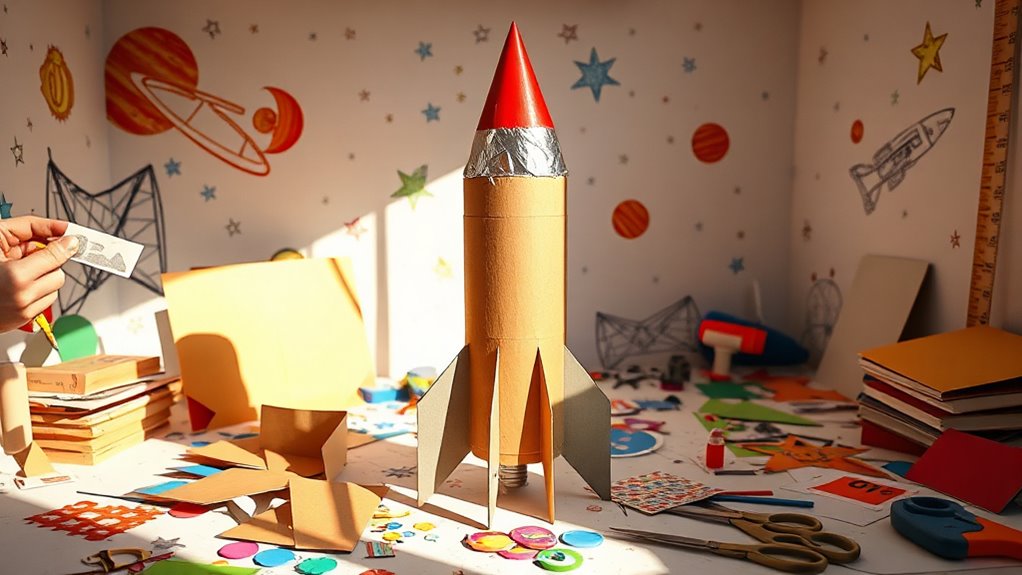
To build your cardboard rocket ship, start by cutting a triangle from the cereal box cardboard with a curved bottom edge.
Staple the triangle into a cone shape to create the rocket’s top.
Next, attach the cone to the closed end of a cylinder coffee-type container using packing tape for added stability.
Once that’s secure, cover the entire rocket structure in aluminum foil to give it a shiny, space-themed finish.
For the wings, cut out two shapes from cardboard, cover them in foil, and glue them to the body of the rocket.
Finally, add some personality by gluing on doors and windows made from colored paper.
Your cardboard rocket ship is now ready for liftoff!
Assembly
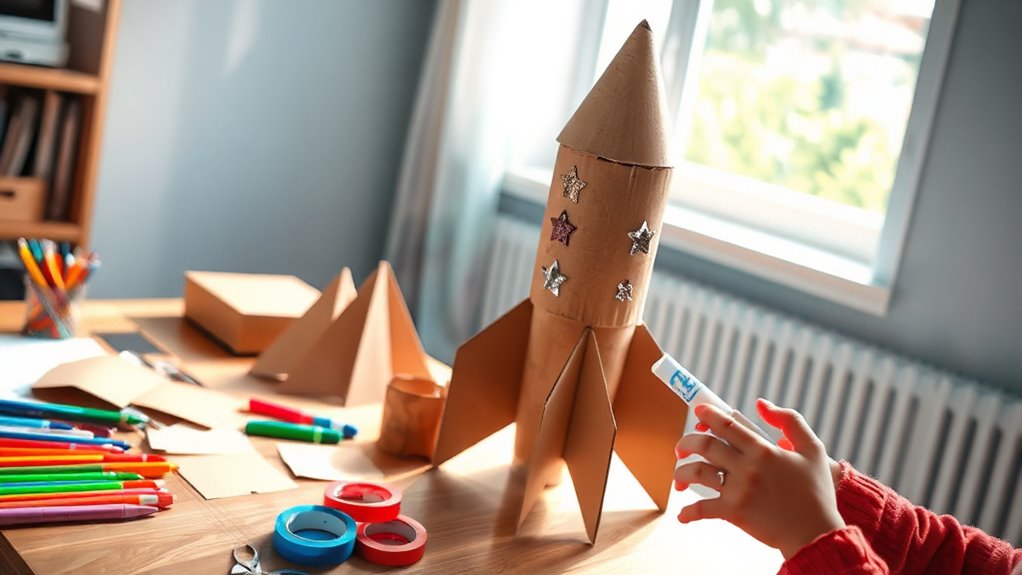
Start the assembly by gluing the pre-designed doors and windows onto your rocket structure for added detail.
Next, clip four clothespins to the bottom of the cylinder container to create stable landing gear. This will help your rocket stand upright.
Stuff the bottom of the cylinder with tissue paper to give your rocket a colorful and textured interior.
Cut out two wing shapes from cardboard, then cover them in aluminum foil.
Glue them securely to the body of the rocket for an aerodynamic design. Make sure each component is firmly attached.
Allow any glue to dry completely before you display or play with your rocket ship.
Enjoy your incredible cardboard creation and prepare for takeoff!
Engagement
How can you make the cardboard rocket ship project even more exciting for your child?
Engaging them in this creative endeavor boosts their problem-solving skills and promotes hands-on learning.
Tailor activities to their age to guarantee everything’s developmentally appropriate.
Immerse yourself in space exploration topics to spark curiosity and provide educational context while you build.
Watching shows or videos about rockets can inspire them and add a fun twist to the project.
Don’t stop at building; include drawing or storytelling about space to keep their enthusiasm alive.
By offering a mix of activities, you’ll not only enhance their experience but also deepen their interest in the fascinating world of space.
Get ready for an adventure that fuels both creativity and learning!
Tips for Success
While building your cardboard rocket ship may seem simple, a few key tips can assure the project is a success and enjoyable for both you and your child.
| Tip | Purpose | Benefit |
|---|---|---|
| Secure the cone shape | Holds form during assembly | Prevents collapse |
Using aluminum foil adds a shiny exterior, which not only enhances durability but also makes the rocket more appealing.
| Proportional wings | Guarantees balance and aesthetics | Makes the rocket more visually pleasing |
Don’t forget to stuff the bottom with tissue paper for stability and a fun surprise!
Let your child design their own doors and windows to spark creativity and ownership.
Following these tips will help you craft a fantastic rocket ship together.
Frequently Asked Questions
How Long Does It Take to Build the Rocket Ship?
It usually takes you about 30 to 60 minutes to build the rocket ship. If you’re working with kids, add an extra 20 to 30 minutes for guidance and creativity. Enjoy the process!
What Age Group Is This Project Suitable For?
This project’s suitable for kids aged 4 to 10. Younger ones might need your help, while older kids can work more independently, letting their creativity shine as they design their unique rocket ships.
Can I Use Different Materials Instead of Cardboard?
You can creatively choose colorful materials like foam board, plastic bottles, or even recycled treasures. Each option offers unique benefits, enhancing your rocket’s structure and style while sparking your imagination and sustainability.
How Can I Customize My Rocket Ship Design?
You can customize your rocket ship by adding colorful paper, unique window shapes, and fun stickers. Experiment with different materials for fins and wings to create a design that truly reflects your personality and interests.
Is This Project Safe for Young Children?
Yes, this project’s safe for young children. You’ll find non-toxic materials, adult supervision helps with cutting, and using tape protects against sharp tools. Encourage creativity while ensuring small parts remain out of reach. Enjoy the fun!
Conclusion
You’ve now got your very own cardboard rocket ship ready for takeoff!
Just imagine the adventures you and your child can undertake together, exploring distant galaxies right from your living room.
For instance, a neighbor built a similar rocket with their kids, turning it into a week-long space exploration theme, complete with homemade aliens and starry decorations.
So, gather those materials, let your creativity soar, and blast off into a world of imagination!
With your new cardboard rocket ship, the possibilities are endless.
Whether you’re embarking on intergalactic missions or hosting a space-themed party, it’s all about having fun and fostering creativity.
So strap in, get ready for adventure, and make unforgettable memories together!
Happy space traveling!