DIY Guide to Make a Cardboard Rocket Ship
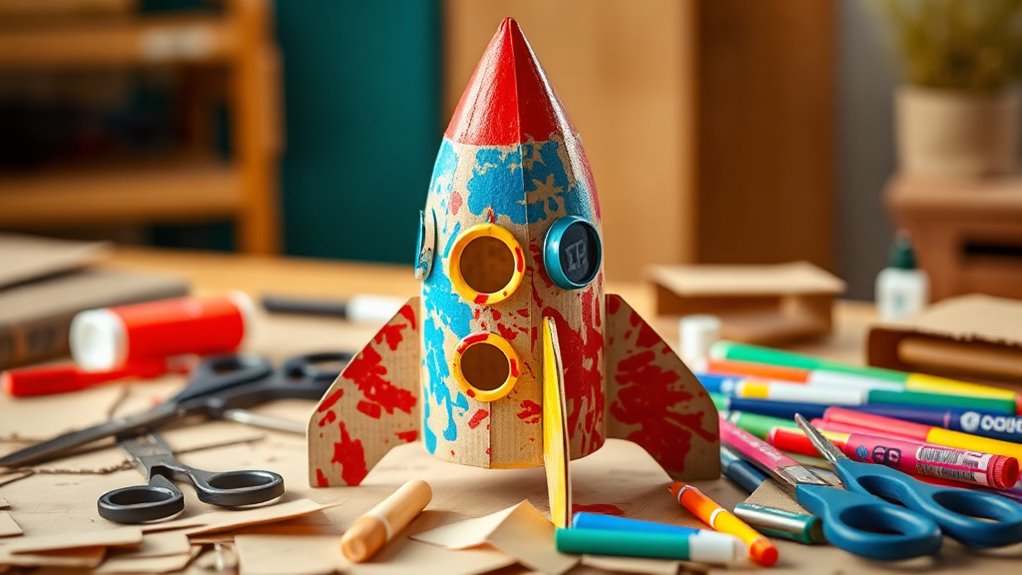
To create your own cardboard rocket ship, you’ll need some fun materials like cardboard boxes, scissors, glue, and paints.
First, sketch out your design. This is where the magic begins! Cut out shapes for the body, fins, and nose cone of your rocket.
Once you have all the parts ready, assemble them securely.
Now, it’s time to unleash your creativity! Decorate your rocket with vibrant paints, stickers, or glitter.
This awesome DIY project not only sparks imaginative play but also helps improve fine motor skills.
Keep reading to uncover more tips and tricks for making your rocket ship truly unique!
Let your imagination take flight!
Key Takeaways
- Gather materials like cardboard boxes, scissors, glue, and decorative supplies before starting the rocket ship project.
- Sketch a design that includes essential features such as fins, a nose cone, and windows.
- Cut and assemble the rocket by creating a cone for the nose and rolling cardboard for the main body.
- Decorate the rocket using paints, markers, stencils, and additional craft supplies for a personalized touch.
- Supervise children during the crafting process to ensure safety while using tools and materials.
Materials Needed for Your Rocket Ship
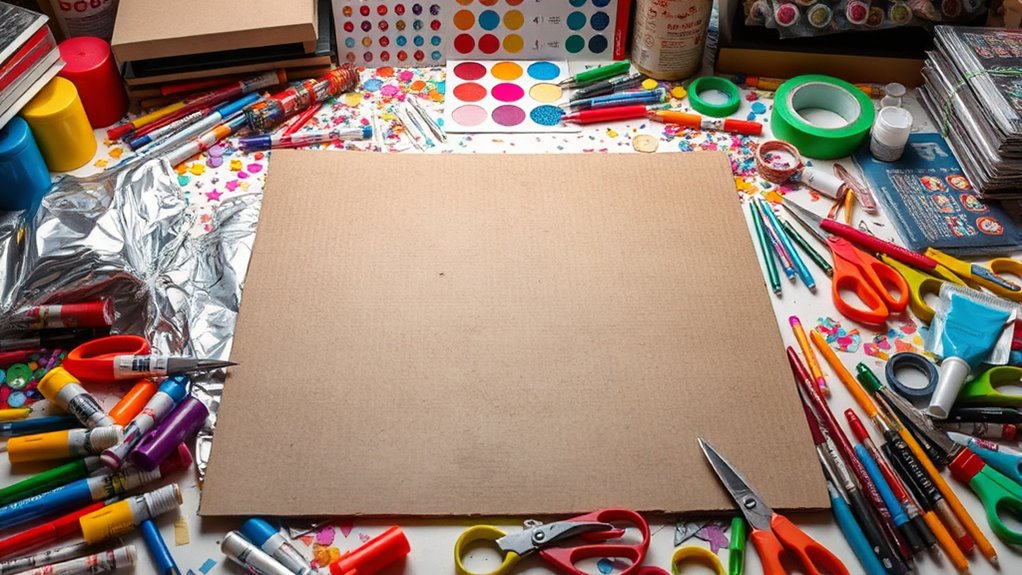
To build your DIY cardboard rocket ship, you’ll first need to gather some essential materials.
Start by collecting several cardboard boxes in varying sizes; a large box will serve as the main body while smaller boxes will be perfect for fins and other details.
You’ll also need scissors or a box cutter to cut these boxes into the desired shapes for your rocket’s body and nose cone.
Next, grab markers, paint, or colored paper to decorate your creation and give it a vibrant look.
Don’t forget to have glue or tape on hand to securely assemble the parts.
Finally, consider using aluminum foil or stickers to add unique touches and enhance your rocket’s design.
Happy building!
Step-by-Step Instructions
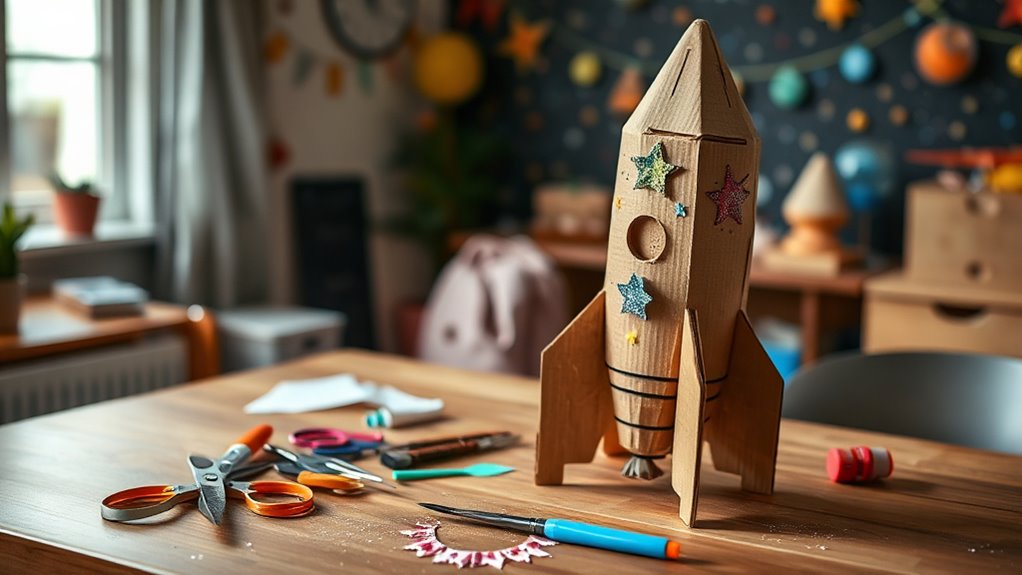
Now that you’ve gathered all your materials, it’s time to start building your rocket ship. You’ll cut the cardboard into the right shapes and assemble them securely for a sturdy structure. Let’s break down the assembly process step by step to make your creation a success!
Required Materials Overview
Creating a cardboard rocket ship requires a few essential materials that will make your imaginative project come to life.
Here’s a quick overview of what you’ll need:
| Material | Purpose |
|---|---|
| Cardboard Boxes | Main structure of the rocket |
| Cardboard Tube | Body of the rocket |
| Scissors | Cutting materials |
| Tape | Assembling parts |
| Decoration Supplies | Paint, markers, stickers for flair |
Make sure to use safety scissors if younger children are involved to keep everyone safe.
Finally, you’ll want a clean, spacious workspace to comfortably cut and assemble your rocket.
With these materials ready, you’re set to begin your exciting project!
Assembly Process Explained
Begin your assembly process by gathering all your materials in one place.
You’ll need cardboard boxes, scissors, tape, and some paint or markers for decoration.
Start by cutting one of the cardboard boxes into a cone shape; this will be the rocket’s nose.
Attach it securely to the top of a larger box.
Next, take additional cardboard pieces to create fins or wings, and tape them to the sides of the main box.
Once your rocket structure is complete, let loose your creativity!
Decorate your ship with paint, markers, or stickers to give it a vibrant look.
Finally, let the decorations dry completely before starting imaginative play with your new cardboard rocket ship.
Enjoy your adventure!
Creative Decoration Ideas
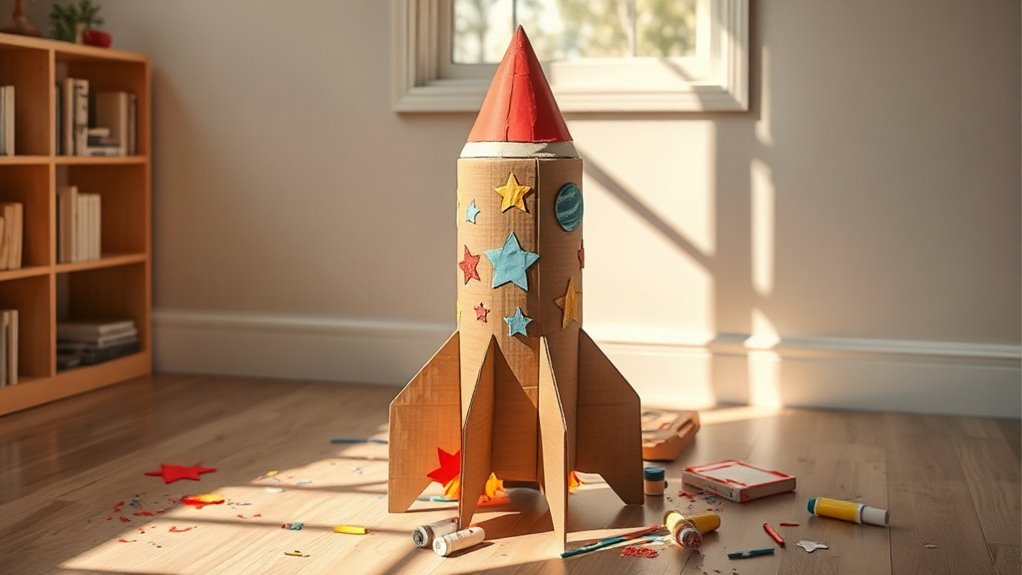
Now that you’ve built your cardboard rocket ship, it’s time to make it truly yours with some creative decorations! You can use colorful paint techniques, fun accessories, and unique finishing touches to bring your vision to life. Let your imagination run wild as you transform your rocket into a spectacular space vessel!
Colorful Paint Techniques
Bright, non-toxic acrylic paints can transform your cardboard rocket ship into a vibrant masterpiece that sparks imagination.
Start by applying bold colors to create a base. Then, use sponge painting techniques for textured effects, adding depth to your design.
Incorporate metallic paints like silver or gold for accents to mimic real rocket components. This will increase visual appeal.
Stencils can make the decoration process even more engaging. They allow you to add fun designs like stars and planets that capture the essence of space.
For a dynamic touch, layer different colors and utilize a spray bottle for splatter effects. This creates a playful atmosphere.
With these techniques, you’ll create a stunning rocket that excites every little astronaut’s dreams!
Fun Accessories to Add
When it comes to adding fun accessories to your cardboard rocket ship, creativity knows no bounds.
To truly make your rocket shine and ignite your child’s imagination, consider these exciting ideas:
- Colorful decorations: Use vibrant markers and paint to craft designs that reflect your child’s personality.
- Whimsical streamers: Attach ribbons or streamers to the top to simulate rocket flames, adding a playful touch.
- Interactive portholes: Create windows using plastic bottle caps or colored paper circles for an engaging element.
Don’t forget to enhance the look with stickers featuring stars and planets.
For an extra wow factor, add LED lights inside or around your rocket, making it glow beautifully during nighttime adventures.
Happy crafting!
Creative Finishing Touches
To elevate your cardboard rocket ship’s design, consider adding some creative finishing touches that reflect your child’s imagination.
Use paint or markers to splash vibrant colors and patterns, making the rocket visually appealing and personalized. Stickers, glitter, and metallic paper can add a fun, space-themed flair.
Incorporate LED lights to create a glowing effect, simulating a spaceship blasting off. For a more aerodynamic look, attach cardboard fins and a nose cone, enhancing both design and structural integrity.
Encourage your kids to create and add their own unique designs or themes, like planets or stars. This fosters their creativity and ownership of this exciting craft project.
With these touches, your rocket ship will truly be out of this world!
Enhancing Imaginative Play
Crafting a cardboard rocket ship opens up a world of imaginative play, allowing kids to commence thrilling space adventures limited only by their creativity.
This DIY project not only sparks their imagination but also enhances essential skills.
Here’s how:
- Fine Motor Skills: As they cut, glue, and assemble, kids improve their dexterity and coordination.
- Creativity: Designing and decorating the rocket lets children express their individuality through vibrant colors and unique themes.
- Storytelling and Social Skills: Playing together encourages cooperative play, where kids craft narratives around their space missions, enhancing both their storytelling and teamwork abilities.
Through this engaging craft, your child can explore endless possibilities, making every playtime an exciting journey into the cosmos!
Safety Tips for Crafting
Creating a cardboard rocket ship is a fantastic way to spark your child’s imagination, but safety should always come first.
Always supervise your kids while they craft to guarantee they handle scissors, glue, and other tools safely.
Use non-toxic, child-safe materials for painting and decorating to prevent health hazards.
Make sure the crafting area is well-ventilated, especially when using adhesives or spray paints.
Before letting your children work with cardboard, check for sharp edges and smooth them out with sandpaper or tape.
Finally, encourage them to wear safety goggles when using cutting tools to protect their eyes from accidental injuries.
Sharing Your Creation
How can you share your amazing cardboard rocket ship with the world?
Start by taking a clear photo that highlights your creativity and craftsmanship. This visual will grab attention and showcase your hard work.
Here are a few ways to share your creation:
- Post your photo on social media, using relevant hashtags to connect with fellow DIY enthusiasts.
- Write a brief description of your crafting process and materials used. This can inspire others to embark on their own cardboard projects.
- Engage with other creators by commenting on their projects and inviting feedback on your rocket ship.
Consider joining online crafting communities or forums to exchange ideas and find new inspiration.
Sharing your creation not only celebrates your effort but also encourages others to unleash their creativity too!
Frequently Asked Questions
How Long Does It Take to Make a Cardboard Rocket Ship?
It typically takes you about two to four hours to make a cardboard rocket ship, depending on your crafting skills and the complexity of your design. Enjoy the process and let your creativity shine!
What Age Is Appropriate for Kids to Participate in This Project?
Kids aged 5 and up can plunge into this project! It’s like launching their creativity into orbit. With your guidance, they’ll explore, build, and let their imaginations soar as they craft their rocket ship.
Can We Use Recycled Materials Other Than Cardboard?
You can use various recycled materials like plastic bottles, paper, and tin cans. Just make sure they’re safe and sturdy enough for your project, and let your creativity shine while building something unique together!
How Can I Store the Rocket Ship After Making It?
To keep your rocket ship safe, think of it as a treasured star in your galaxy. Store it upright in a cool, dry space, or disassemble it gently for easy storage without damaging its brilliance.
What Should I Do if My Child Loses Interest During the Project?
If your child loses interest, take a break and suggest another fun activity. You can also involve them by asking for their ideas or letting them lead a part of the project to spark excitement.
Conclusion
Now that you’ve crafted your cardboard rocket ship, it’s time to blast off into your imagination!
With a little creativity and some old-school ingenuity, you’ve created a vessel ready for adventure.
Remember, every great explorer, even those from the days of vinyl records, started with a dream and a DIY project.
So, gather your friends, share your creation, and let the interstellar journeys begin!
The universe is yours to explore, one cardboard adventure at a time!
—
Your cardboard rocket ship is just the beginning of endless fun.
Unleash your creativity and embark on adventures that stretch beyond the stars!
Whether you’re playing solo or with friends, every moment is a chance to explore new worlds.
Get ready for imaginative play, and don’t forget to document your journeys!
So, launch into your dreams with this DIY project and let the magic unfold.
Happy exploring, space captain!