7 Easy DIY Sensory Toys to Make at Home
You can create fun DIY sensory toys right at home!
These engaging activities are perfect for stimulating your child’s senses and encouraging exploration.
Make a sensory bin with colored rice for hands-on discovery.
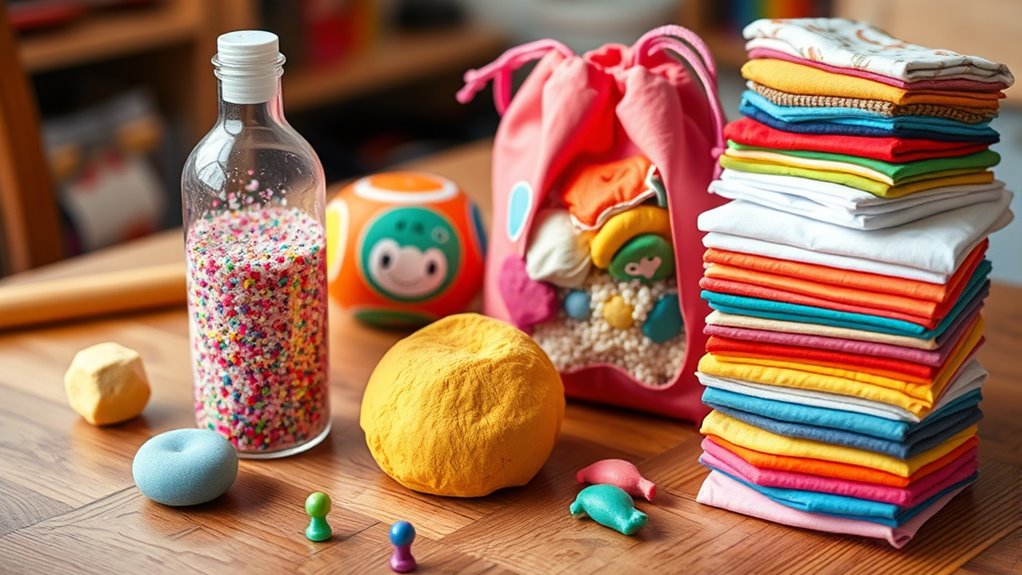
Craft playdough by mixing flour and water for tactile enjoyment.
Use crayons to explore textures through rubbings, and create a sensory bottle filled with glitter and water for visual stimulation.
Whip up stress balls using balloons and rice for stress relief.
Finally, assemble sensory boxes with various materials to keep the fun going.
Keep exploring, and you’ll discover even more engaging ideas!
Key Takeaways
- Create a DIY sensory bin filled with colored rice and small toys for texture exploration and calming playtime.
- Make homemade playdough using flour, salt, and oil for a fun, tactile activity that enhances creativity.
- Assemble a sensory bottle with warm water, clear glue, and decorative items like glitter for visual stimulation.
- Craft stress balls using balloons filled with flour or rice to promote fine motor skills and stress relief.
- Use crayons for texture rubbings, encouraging creativity and experimentation with colors and pressure during art activities.
Sensory Bin Made of Rice
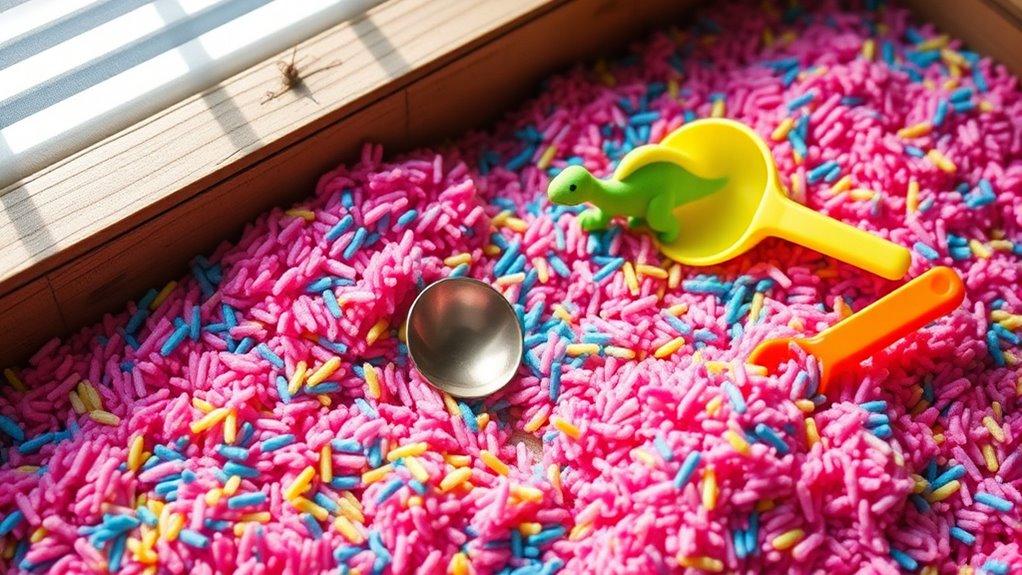
Creating a sensory bin made of rice can provide an exciting and enriching experience for your child.
This vibrant sensory play option allows them to explore various textures while enhancing their fine motor skills.
To make colored rice, mix food coloring with white vinegar, seal it in a bag, and shake until evenly coated.
Mix food coloring with white vinegar, seal in a bag, and shake for beautifully colored rice.
After it dries, fill the bin with the rice and add small toys or assorted pasta shapes for added discovery.
As your child scoops, pours, and digs, they’ll engage their senses and spark their creativity.
Just remember to supervise closely to guarantee safety, as they may be tempted to taste non-edible items.
This calming activity not only entertains but also helps regulate emotions during playtime.
DIY Playdough

If you want a fun and tactile activity for your child, making DIY playdough is a fantastic option.
To create your own sensory items, combine 2 cups of all-purpose flour, ½ cup of salt, 2 tablespoons of cream of tartar, and 2 tablespoons of cooking oil in a pan.
Pour in 2 cups of hot water and heat over medium, stirring until it thickens into a dough-like consistency.
Knead until smooth. For extra sensory fun, consider adding food coloring or essential oils to explore various sensations.
Once you’re done, store the playdough in an airtight container to keep it fresh.
Your child will love using this DIY playdough as a tactile tool for creativity and fine motor skill development!
Crayons for Texture Exploration
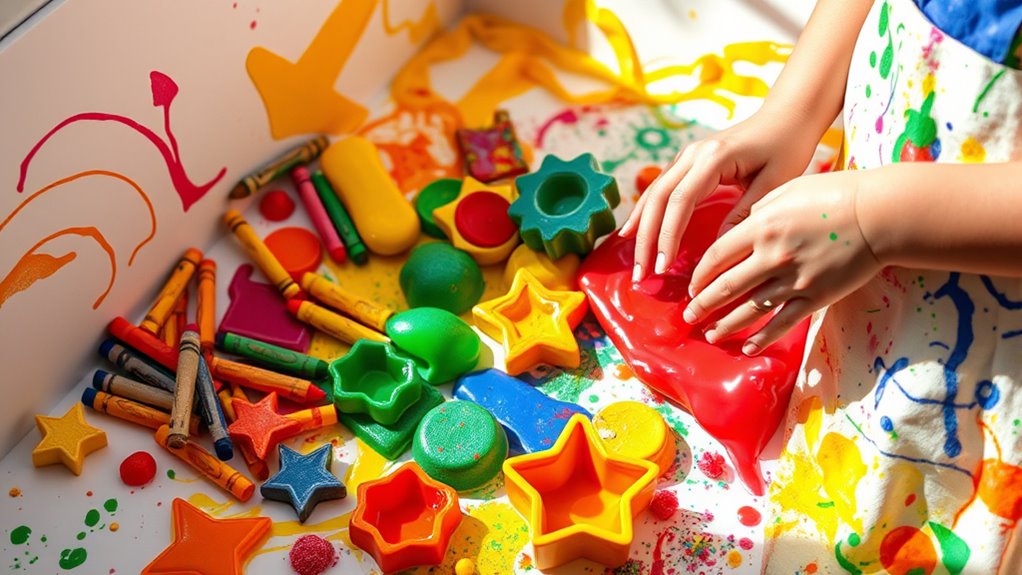
While exploring textures can be a delightful experience, using crayons to create texture rubbings adds a whole new layer of fun.
Simply place a textured item, like a leaf or a coin, under a piece of paper and rub a crayon over it.
Place a textured object like a leaf or coin beneath paper and gently rub a crayon over it for delightful texture art.
This activity encourages you to experiment with different pressures and angles, enhancing fine motor skills and sensory awareness.
Try various crayon colors to explore color blending and contrast while engaging in tactile play.
Incorporating different textured materials helps you identify and differentiate sensations, making it a rich learning experience.
Ultimately, this process fosters creativity, allowing you to create unique art pieces based on your discoveries while enjoying the magic of texture exploration.
Sensory Bottle
Creating a sensory bottle is a fun and simple project that can captivate your child’s attention. You’ll need a few materials like a clear bottle, warm water, and decorative items to fill it up, plus some sealing techniques to keep it safe. Consider different themes to personalize the bottle, making it even more engaging for your little one.
Materials Needed for Creation
To craft a sensory bottle, you’ll need a few essential materials that guarantee both safety and sensory engagement.
Here’s a list of the materials needed for creation:
- A durable, clear plastic or glass bottle with a secure lid.
- Warm water to fill the bottle halfway.
- Clear glue or baby oil to increase viscosity, allowing contents to move slowly and smoothly.
- Visually appealing small objects like glitter, sequins, beads, or colorful pom-poms for visual stimulation.
These DIY Sensory Toys are perfect for calming and engaging your child.
Make certain to seal the lid securely, using hot glue if necessary, to prevent spills and assure everything stays safe during use.
Enjoy creating your sensory bottle!
Filling and Sealing Techniques
Once you’ve gathered your materials, it’s time to fill your sensory bottle with care.
Start by adding warm water to fill the bottle halfway. This makes it easier to mix everything.
Next, pour in clear glue or baby oil to thicken the mixture. This enhances the engaging sensory experience.
You can now toss in decorative items like glitter, sequins, or small toys. These will create fascinating movement.
A few drops of food coloring will add vibrant hues, making your DIY fidget even more visually stimulating.
Once you’re satisfied with the contents, guarantee safety by securely tightening the lid.
To prevent leaks or choking hazards, seal it with hot glue. Your sensory bottle is ready for play!
Themes and Variations Ideas
While exploring themes for your sensory bottles, consider what sparks excitement for the children who’ll use them.
Themed sensory experiences can help children engage and explore. Here are some ideas to get you started:
- Ocean Theme: Use blue water, fish, and shells to mimic an underwater scene.
- Outer Space: Fill with black water, glitter stars, and small planets for a cosmic adventure.
- Nature: Combine green food coloring, water, and natural items like leaves or stones.
- Textured Sensation: Add water beads, sequins, or scented oils for various textures and delightful scents.
Remember to secure the lids tightly with glue to prevent spills and guarantee safety during play.
Enjoy creating these enchanting sensory bottles!
Slime
Creating slime is a fun and engaging activity that not only sparks creativity but also provides sensory stimulation for children.
To make your own slime, start by combining 1/2 cup of white glue with 1/2 cup of water in a bowl, stirring until well mixed.
Gradually add liquid starch to the mixture until you reach the desired slimy consistency.
For added excitement, incorporate food coloring or glitter, making the slime visually appealing and even more engaging.
Remember to use non-toxic materials to guarantee safety during playtime.
Once you’ve created your slime masterpiece, store it in an airtight container to keep it fresh and prevent drying out.
Enjoy the squishy fun of your homemade slime!
DIY Stress Ball
Making a DIY stress ball is a fun and simple project that lets you choose your favorite materials. You can fill a balloon with anything from flour to Orbeez for different textures, and even add some essential oils for a calming scent. Plus, decorating your stress balls can make them more visually appealing and engaging for kids!
Materials Needed for Creation
To create a DIY stress ball, you’ll need a few essential materials that are easy to find.
These household items will help you craft a fun toy that allows children to explore different textures. Here’s what you’ll need:
- Balloons – Choose your favorite colors and sizes.
- Filling – Common options include flour, rice, or Orbeez for various textures.
- Markers or stickers – Use these to decorate your stress ball and make it visually appealing.
- Scissors – Handy for cutting the balloon if necessary.
Make sure to stretch the balloon’s opening for easy filling, and tie it securely afterward.
For added durability, consider using a second balloon.
Enjoy creating your stress ball!
Fun Filling Options
While you might think of flour or rice as classic filling options for your DIY stress ball, there are plenty of fun and creative alternatives that can enhance the sensory experience.
Consider adding small items like cornstarch or Orbeez for unique textures. Each filling provides a different squishy consistency, allowing you to customize your stress balls based on your personal preferences.
For an extra sensory layer, try using scented rice, which adds aromatherapy benefits to your DIY stress toy. This not only makes it tactile but also soothing to the senses.
Creating these stress balls can be a fun and interactive activity. It promotes fine motor skills as you learn to fill and shape your own sensory information-packed toys.
Decorating Your Stress Balls
Once you’ve created your stress balls with fun fillings, the next step is to make them visually appealing.
Decorating your stress balls not only enhances their look but also makes them engaging for kids. Here are some creative ideas:
- Use permanent markers to draw faces or patterns, transforming them into fun characters.
- Add some glitter or small stickers to the filling for an eye-catching effect.
- Create themed decorations based on holidays or seasons to make them relevant and exciting.
- Involve children to explore their creativity, helping with fine motor skill development as they manipulate materials.
These simple decoration methods will guarantee your stress balls are both beautiful and functional!
Sensory Boxes
Sensory boxes offer a fun and engaging way for children to explore different textures and materials, enhancing their creativity and sensory development.
You can easily create a sensory box at home using a sturdy box filled with items like sand, rice, or shredded paper.
Customize it based on your child’s interests, incorporating stones, feathers, or small toys for tactile engagement.
| Sensory Material | Benefits |
|---|---|
| Sand | Promotes tactile engagement |
| Rice | Enhances fine motor skills |
| Shredded Paper | Encourages imaginative play |
Adding tools like tongs or scoops helps improve fine motor skills as children interact with these materials.
Always supervise sensory play to guarantee safety and prevent ingestion of small objects.
Frequently Asked Questions
What Age Is Suitable for Sensory Play Activities?
Sensory play activities are suitable for children aged 6 months and older. As they grow, toddlers and preschoolers benefit even more, enhancing their motor skills, creativity, and emotional regulation through hands-on exploration and imaginative play.
How Do I Ensure the Materials Are Safe for My Child?
You guarantee materials are safe by choosing non-toxic, child-safe options and checking for choking hazards. Always supervise play, inspect toys regularly, and use washable items to maintain hygiene and safety during your child’s sensory activities.
Can I Reuse Sensory Materials for Different Activities?
Yes, you can definitely reuse sensory materials for different activities! By revitalizing your sensory bins or swapping fillers in bottles, you create varied experiences without extra cost, keeping playtime exciting and engaging for your child.
How Do I Clean up After Sensory Play?
Cleaning up after sensory play’s like gathering fallen leaves in autumn. Start by collecting larger items, then sweep or vacuum smaller materials, and finally, wipe surfaces clean with soapy water. Don’t forget to involve the kids!
What Are the Benefits of Sensory Play for Children?
Sensory play boosts your child’s fine motor skills, helps regulate emotions, enhances cognitive abilities, sparks creativity, and fosters social skills. Engaging in these activities encourages exploration and collaboration, enriching their overall development and understanding of the world.
Conclusion
Creating these DIY sensory toys not only sparks joy but also fosters exploration and creativity.
You’ll discover the thrill of pouring rice, the satisfaction of kneading playdough, and the delight of squishing slime.
As you watch your child engage with each texture, you’ll feel a sense of accomplishment.
You’ll know you’ve crafted a world of discovery right at home.
So gather your materials, release your imagination, and let the sensory adventures begin!
In conclusion, making DIY sensory toys is a fantastic way to promote play and learning.
These engaging activities not only keep kids entertained but also enhance their sensory experiences.
So, roll up your sleeves and dive into the fun of creating these unique toys!
Your home can become a hub of exploration and creativity, making memories that last a lifetime.